2026 How to Use Fast Dry Liquid Nails Effectively?
The construction industry continually seeks out innovative solutions for bonding materials. Fast Dry Liquid Nails is at the forefront of this revolution. Industry expert, John Smith, emphasizes its importance, saying, “Fast Dry Liquid Nails can change the game for builders and DIY enthusiasts alike.” This adhesive stands out due to its quick drying time and strong bond for various surfaces.
Using Fast Dry Liquid Nails effectively requires understanding its applications. Whether you are working on a home project or a professional build, knowing how to apply it can make a significant difference. Proper preparation and application technique are essential for achieving the best results. However, mistakes can happen, even with experienced hands. It's crucial to reflect on what went wrong, whether it’s an uneven surface or improper application.
Many users overlook the importance of following the manufacturer's guidelines. This can lead to issues with adhesion and overall effectiveness. Experimenting with different techniques might be necessary. Understanding how Fast Dry Liquid Nails reacts with various materials can enhance your results and build more durable structures.
Understanding Fast Dry Liquid Nails and Its Composition
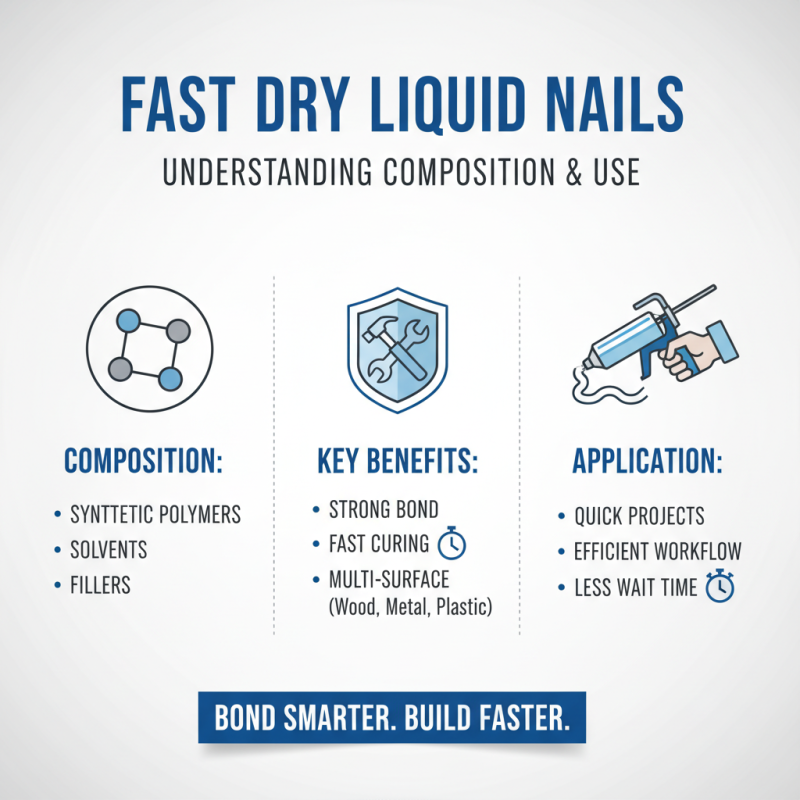
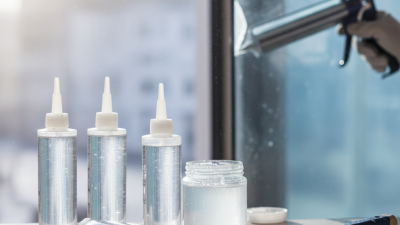
Fast Dry Liquid Nails are a popular choice for bonding materials quickly. Understanding its composition is essential for effective use. Generally, it consists of synthetic polymers, solvents, and fillers. These ingredients create a strong bond, tailored for various surfaces like wood, metal, and plastic. The fast-drying quality means less wait time for projects. However, it’s crucial to work efficiently.
When applying Fast Dry Liquid Nails, surface preparation is key. Ensure all surfaces are clean, dry, and free from dust or grease. This enhances adhesion and overall strength. An imperfect surface can lead to weak bonds. Users often overlook this step, resulting in failure. Squeeze the adhesive evenly to cover the area adequately. Pay attention to the amount; too much can cause messiness, while too little may not hold.
Curing time can vary based on environmental conditions. In humid or cold conditions, drying takes longer than expected. This is something to be aware of during projects. Testing a small area before full application can provide insights into performance. Reflecting on personal experiences with this adhesive might improve future results. Adjust techniques as necessary for the best outcomes.
Preparing Surfaces for Optimal Adhesion with Fast Dry Liquid Nails
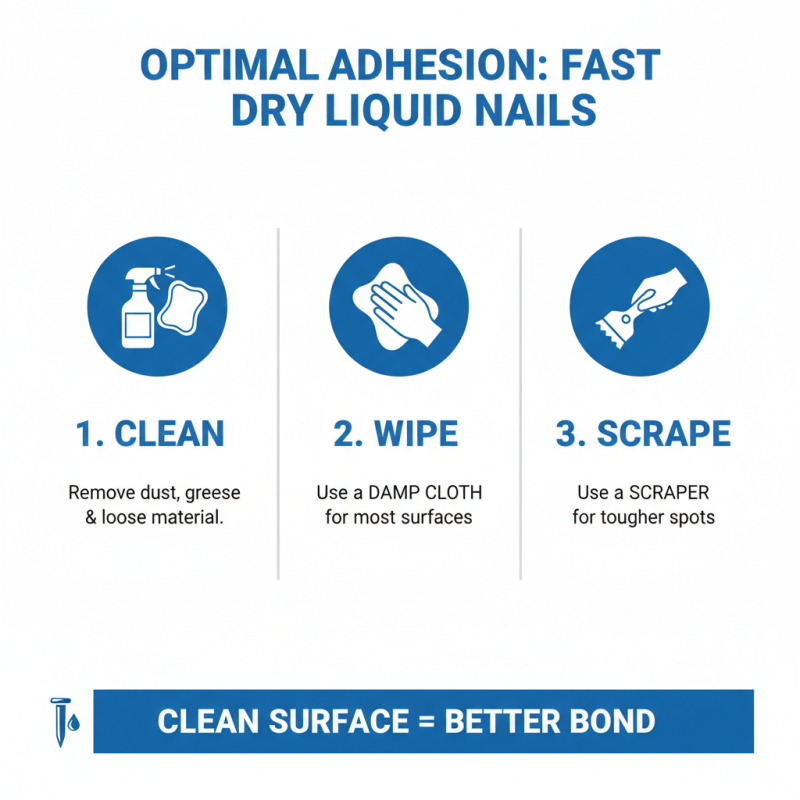
Preparing surfaces is crucial for optimal adhesion with fast-dry liquid nails. Clean the area thoroughly. Remove dust, grease, or any loose material. A clean surface helps the adhesive bond better. Use a damp cloth for most surfaces, and a scraper for tougher spots.
Drying time is also important. Ensure the surface is completely dry before applying the adhesive. Moisture can weaken the bond. It’s worth noting that some surfaces may need roughening. Sanding wood or scoring plastic can create a better grip for the adhesive.
Even if surfaces appear clean, a second check is essential. Missed spots can ruin adhesion. It’s a detail often overlooked. Taking the time to prepare correctly can lead to more robust results. If the bond fails, reflect on the preparation process. Each step counts in achieving lasting adhesion.
Step-by-Step Application Process for Fast Dry Liquid Nails
When using fast-dry liquid nails, following a step-by-step application process can make a significant difference.
Begin by preparing your surfaces. Clean them thoroughly to ensure proper adhesion. Dust, grease, and moisture can hinder the bonding.
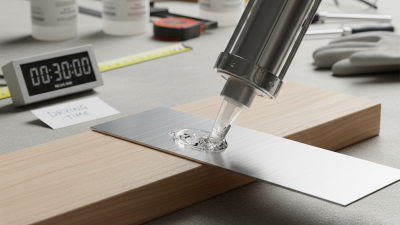
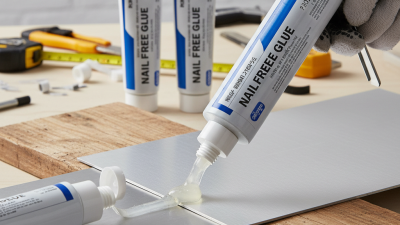
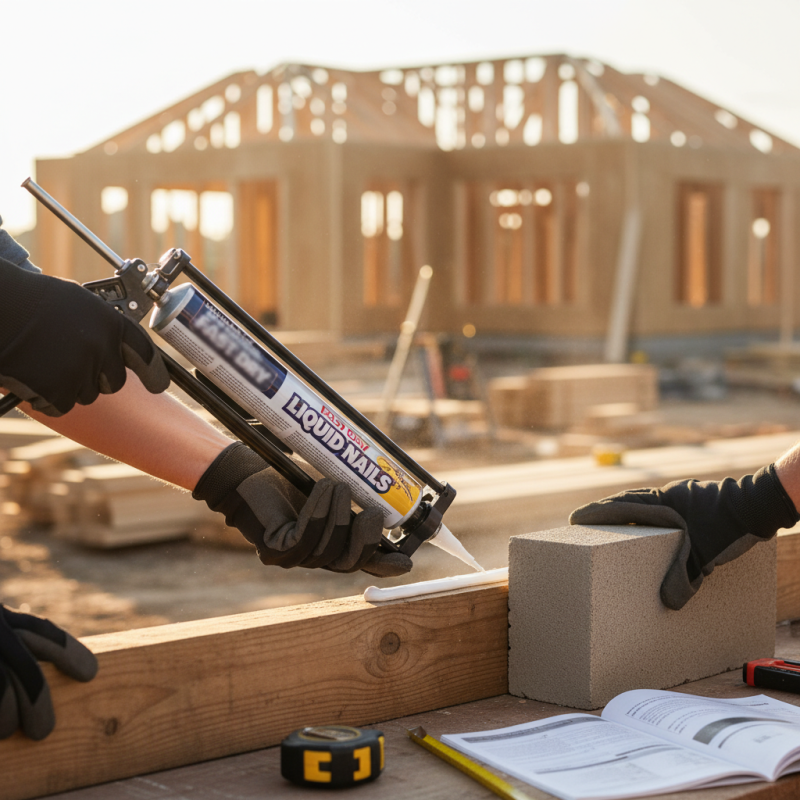
Once prepped, it’s essential to apply the adhesive evenly. Use a caulking gun for precision. A consistent bead will create a stronger bond.
Next, press the objects together firmly. Hold for a few moments to let the adhesive take hold. Depending on your project, you may need clamps to maintain pressure while it dries.
Check the recommended drying time on instructions. It’s crucial to avoid disturbance during this phase.
Tips: Always test a small area before full application. This can save you from future regrets.
If you’ve never used liquid nails before, practice on scrap material first. It helps you gauge the flow and drying time.
Remember, this adhesive can be unforgiving; so, clean any spills immediately. Mistakes can happen, and understanding the drying process helps manage expectations.
Best Practices for Curing and Finishing with Fast Dry Liquid Nails
When using fast dry liquid nails, achieving optimal results depends on effective curing and finishing practices. Begin by ensuring a clean surface. Dust, oil, and debris can negatively affect adhesion. Scrub surfaces to remove grime. Ensure they fit tightly together. A snug fit reduces the amount of adhesive needed and enhances bonding.
Once applied, avoid disturbing the materials during the curing period. While fast drying, these compounds still require time to properly bond. Be mindful of temperature and humidity. High humidity can prolong curing time, while low temperatures might hinder adhesion. Monitor the conditions as you proceed. After the initial dry phase, consider sanding rough edges for a smooth finish.
If you find that the bond is weaker than expected, revisit your application method. Assess the environment carefully. Sometimes minor adjustments in technique can significantly improve your results. Finding the right balance might take some trial and error. Experience will guide your understanding of how to adapt to different materials and conditions effectively.
2026 How to Use Fast Dry Liquid Nails Effectively? - Best Practices for Curing and Finishing with Fast Dry Liquid Nails
| Best Practice |
Description |
Curing Time |
Temperature Range |
| Surface Preparation |
Ensure surfaces are clean and free of dust or grease for optimal bonding. |
N/A |
50°F to 90°F |
| Application Method |
Apply evenly using a caulking gun; avoid over-application to prevent excess squeeze out. |
Quick Set: 30-60 minutes |
50°F to 90°F |
| Clamping |
Use clamps or weights to hold materials in place while curing for effective bonding. |
1-24 hours for initial set |
50°F to 90°F |
| Finishing |
Clean up excess adhesive with a putty knife or solvent before curing completes. |
24 hours for full cure |
50°F to 90°F |
| Safety Precautions |
Use in a well-ventilated area and wear protective gloves and goggles during application. |
N/A |
50°F to 90°F |
Common Mistakes to Avoid When Using Fast Dry Liquid Nails
When using fast dry liquid nails, many common mistakes can affect the final result. One frequent error is applying too much adhesive. Excess product can not only ooze out but also lead to uneven bonding. Be mindful of the quantity; less is often more effective.
Another mistake involves neglecting surface preparation. Surfaces must be clean, dry, and free of dust for optimal adhesion. Rushing this step could compromise the bond. Ensure you have the right tools on hand. Using improper tools can lead to frustration and mess. A clean and organized workspace minimizes errors and helps maintain focus.
Lastly, patience is key. While the name suggests a quick process, rushing can yield poor results. Allow proper drying time without disturbances. This patience pays off, as a well-applied adhesive significantly enhances project durability. Reflecting on these aspects can lead to improved application and reliable outcomes.