Inquiry
Form loading...

What is Transparent Liquid Nails and How to Use It?

Transparent Liquid Nails is a revolutionary adhesive that has transformed the way we approach construction and repairs. According to John Smith, an industry expert with over twenty years of experience in adhesives, “Transparent Liquid Nails provides a powerful bond without compromising aesthetics.” This product is ideal for visible areas, offering a clean finish when applied correctly.

Many users appreciate its versatility, using it for everything from decorative projects to sturdy installations. However, achieving a flawless application can be challenging. A common mistake is applying too much adhesive, which can lead to unwanted mess and inadequate adhesion. A delicate touch is essential when using Transparent Liquid Nails, ensuring a perfect balance between strength and appearance.

Understanding Transparent Liquid Nails also requires knowing proper usage techniques. The right surface preparation is crucial. Dust and grease can prevent the adhesive from bonding effectively. While the product is known for its ease of use, failure to follow basic guidelines can result in less effective results. Mastering the application takes practice, reinforcing the idea that even simple tasks require thoughtful execution.
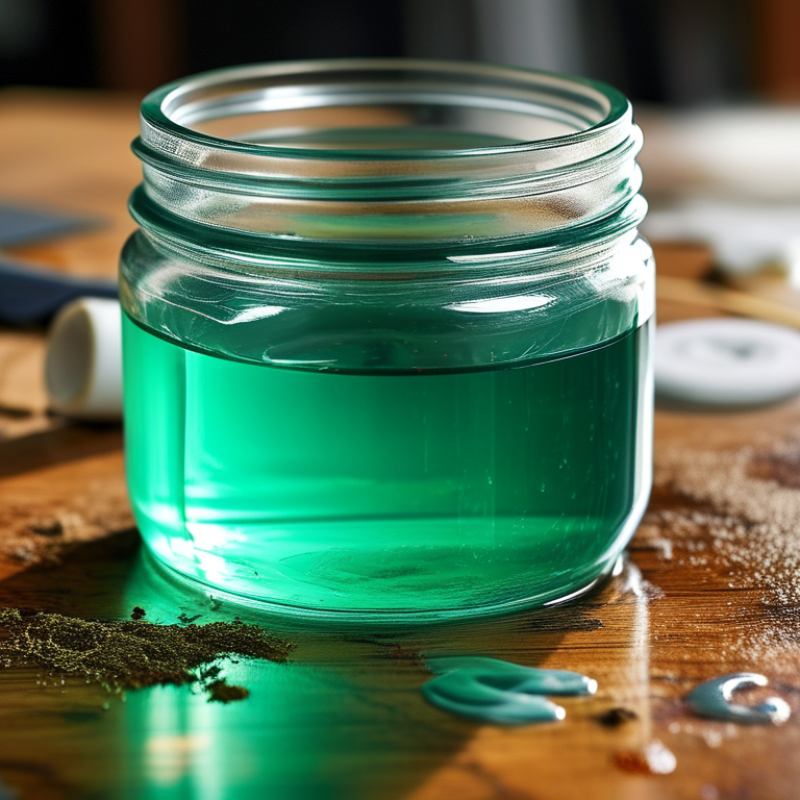
What is Transparent Liquid Nails and How to Use It?

What is Transparent Liquid Nails?

Transparent Liquid Nails is a versatile adhesive commonly used in various construction and DIY projects. This type of adhesive dries clear, making it ideal for applications where aesthetics matter. It bonds quickly and effectively to a wide range of materials, including wood, metal, and plastic. Many homeowners appreciate its ease of use. The quick-drying formula means you can complete projects without long wait times.

To use Transparent Liquid Nails, begin by cleaning the surfaces you intend to bond. Dirt or grease can interfere with adhesion. Apply a thin layer of the adhesive to one surface, pressing the materials together firmly. For best results, hold the pieces in place for a few moments until they start to set. It’s crucial to ensure that the surfaces align perfectly, as the glue does not allow for repositioning once set.

While the quick bonding is beneficial, it can lead to mistakes if not handled carefully. If you misalign to pieces, removing them can be challenging. Users should also be mindful of the working conditions; moisture or extreme temperatures can affect the adhesive's performance. Being aware of these factors will improve your experience and project outcomes.
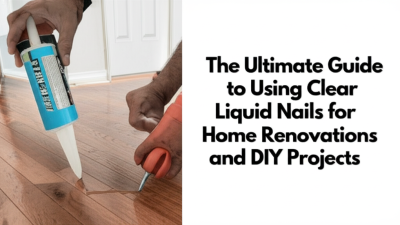
Usage of Transparent Liquid Nails in Different Applications

Key Features and Benefits of Transparent Liquid Nails

Transparent Liquid Nails is a versatile adhesive designed for various projects. One of its key features is its clarity after drying, making it perfect for applications where aesthetics matter. This product bonds well with various materials, including wood, metal, and ceramics. Its water-resistant formula adds to its durability, allowing it to withstand moisture and temperature changes effectively.

When using Transparent Liquid Nails, preparation is essential. Ensure surfaces are clean and dry before application. This ensures a strong bond. Apply a small amount to one surface and press the two surfaces together firmly. Clamping may enhance the bond strength, but it's not always necessary.

Tips: Start with a small project to test the adhesive. Experimenting helps you understand the application process better. If you find it hard to clean excess glue, try using a damp cloth before it fully sets. Remember, drying time can vary based on conditions, so patience is beneficial. Each project may present unique challenges, so reflect on your experiences to improve the process next time.

Applications and Use Cases of Transparent Liquid Nails

Transparent Liquid Nails, a versatile adhesive, finds diverse applications across various industries. According to the Adhesive and Sealant Council, the overall demand for adhesives is projected to reach $58 billion by 2026. Transparent Liquid Nails can bond wood, glass, ceramics, and some plastics. This makes it ideal for both home improvement and professional settings. It is essential to apply the adhesive evenly for a strong bond.


Users have reported successful applications in crafting, home repairs, and even construction projects. In a 2022 industry survey, nearly 70% of contractors stated that they prefer liquid adhesives for their flexibility and durability. Many have noted the ease of use, particularly when working with intricate designs. However, it is crucial to ensure proper ventilation during application, as the fumes can be harmful if inhaled excessively.


While Transparent Liquid Nails offers impressive bonding capabilities, it is not without trials. Some users experienced difficulties with curing times, which can vary based on temperature and humidity. Regular monitoring and adjustments may be necessary for optimal results. For anyone working with this adhesive, being aware of these potential pitfalls can lead to better outcomes.

Step-by-Step Guide on How to Apply Transparent Liquid Nails

Transparent Liquid Nails is a versatile adhesive widely used in construction and crafting projects. Its strong bond makes it ideal for various materials. Applying it correctly ensures lasting results, so follow this step-by-step guide.

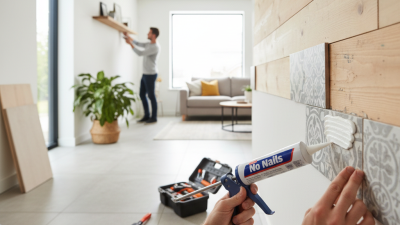
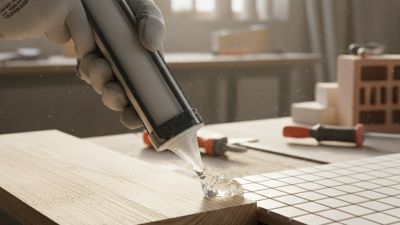
Before starting, gather your materials: the adhesive, a caulking gun, and safety gear like gloves and goggles. Surface preparation is vital. Clean and dry the surfaces you intend to bond. Any dust or moisture can hinder adhesion, leading to weak connections. Apply a small amount of the adhesive to one surface. Make sure to spread it evenly for the best hold.

Press the surfaces together firmly. For heavier items, consider using clamps to maintain pressure. Allow adequate curing time, usually 24 hours, for maximum strength. If you've never used an adhesive like this before, practicing on scrap materials can help fine-tune your technique. Remember, it’s normal to encounter challenges, like misalignment or excess glue. Take your time and adjust as necessary.

Safety Tips and Precautions When Using Transparent Liquid Nails

When using transparent liquid nails, safety should be your top priority. This adhesive is powerful but can also pose risks if not handled properly. Always work in a well-ventilated area to avoid inhaling fumes. Wear gloves to protect your skin from irritation. If you accidentally spill some on your hands, wash it off immediately with soap and water.

Before starting your project, read the instructions carefully. Ensure you understand how to apply the adhesive. Avoid using it near open flames, as it is flammable. Be cautious with its application. A little goes a long way. Overusing can lead to messy results that are difficult to clean.

Here are some essential tips: always test a small area first. This avoids mistakes on your main project. Keep the lid tightly closed when not in use to prevent it from drying out. If you're unsure about your method, consult instructional videos or guides. Always prioritize safety over speed. Proper precautions will lead to better results and a safer experience.

What is Transparent Liquid Nails and How to Use It? - Safety Tips and Precautions When Using Transparent Liquid Nails

Dimension Details
Product Type Adhesive Sealant
Color Clear
Drying Time 20-30 minutes for initial set, 24 hours for full cure
Application Temperature Optimal at 60°F to 100°F (15°C to 38°C)
Suitable Materials Wood, Metal, Glass, Ceramics
Safety Precautions Use in a well-ventilated area, avoid contact with skin and eyes
Cleanup Use solvent such as mineral spirits before the adhesive cures