How to Use Transparent Liquid Nails for Strong Bonding Solutions?
Transparent Liquid Nails has gained popularity in construction and craft projects. It offers a strong adhesive solution for various materials. Whether working with wood, metal, or plastic, this adhesive delivers reliable bonding, making it a favorite among DIY enthusiasts.
Using Transparent Liquid Nails can be straightforward, yet there are nuances to consider. Proper surface preparation is key. Clean and dry surfaces ensure maximum adhesion. Additionally, applying the adhesive evenly can prevent mess and improve results. Many users overlook this crucial step, leading to weaker bonds.
Moreover, understanding drying time is essential for optimal use. Rushing the process might lead to unsatisfactory outcomes. It's a learning curve, and some trial and error might be necessary. Overall, Transparent Liquid Nails can provide impressive results, but attention to detail matters greatly.
Understanding Transparent Liquid Nails: Composition and Benefits
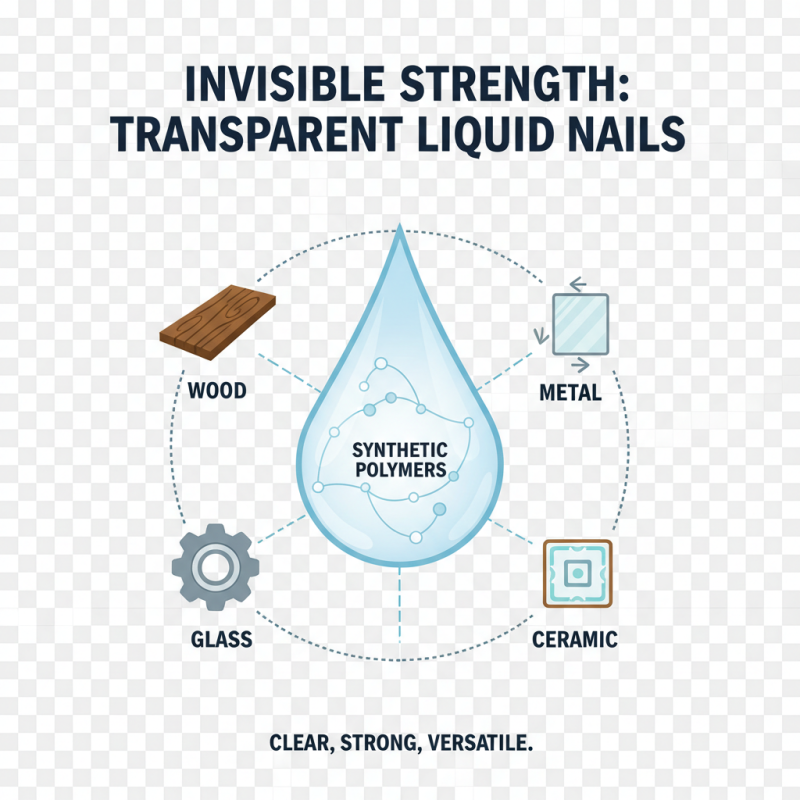
Transparent liquid nails offer a versatile bonding solution for various materials. This adhesive is often composed of a blend of synthetic polymers and other compounds that allow for a strong, lasting hold. Its clarity makes it an ideal choice for projects where aesthetics are important. You can use it on wood, metal, glass, and ceramic surfaces without compromising the look of your work.
When applying transparent liquid nails, the surface preparation is crucial. Clean any dust or grease to ensure a strong bond. Apply the adhesive with precision, as excessive amounts can lead to unsightly overflow. It's also important to consider drying times and environmental factors, as humidity can affect adhesion. While the product is strong, it may not always hold up under extreme conditions, which is something to reflect on during the planning phase of a project. The flexibility of this adhesive allows for some movement, but keep in mind that it’s not an all-purpose solution for every bonding need.
Application Techniques for Optimal Bonding with Transparent Liquid Nails
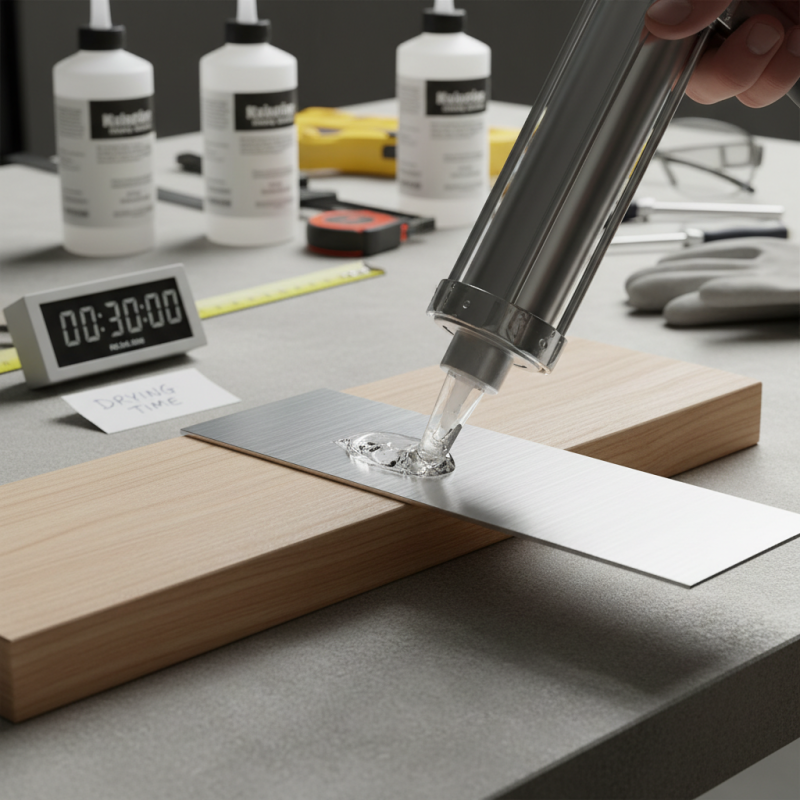
Transparent liquid nails provide excellent bonding for various materials. To achieve optimal results, it's crucial to follow the right application techniques. Start by ensuring surfaces are clean and dry. Dirt, dust, or moisture can weaken the bond. The ideal application temperature is between 60°F and 120°F, as temperature affects adhesion.
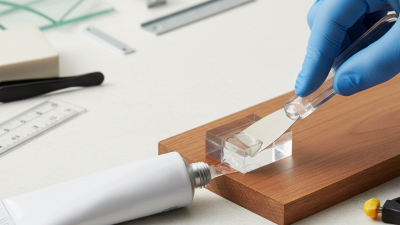
When applying the adhesive, a steady, even bead is essential. Use a caulking gun for greater control. A tip for ensuring strong bonds is to apply pressure to the joined surfaces for at least 15 seconds. This allows the adhesive to form a robust initial bond. Proper curing time is also critical. Wait at least 24 hours for full strength.
**Tips:** Consider using a clamp or weight to maintain pressure while the adhesive sets. This simple method can significantly enhance bond durability. Remember, too much adhesive can create a mess and not necessarily improve strength. Keep it minimal for clean results. Always read technical data sheets for specifics on material compatibility, as not all surfaces bond equally well.
How to Use Transparent Liquid Nails for Strong Bonding Solutions?
| Application Technique |
Material Type |
Curing Time |
Strength (psi) |
Tips for Use |
| Direct Application |
Wood to Wood |
24 hours |
3500 psi |
Ensure surfaces are clean and dry |
| Bead Technique |
Glass to Metal |
48 hours |
3000 psi |
Use clamps for better contact |
| Spot Bonding |
Ceramics |
12 hours |
2500 psi |
Apply in small areas for control |
| Panel Bonding |
Plastic |
36 hours |
3200 psi |
Use a roller for even application |
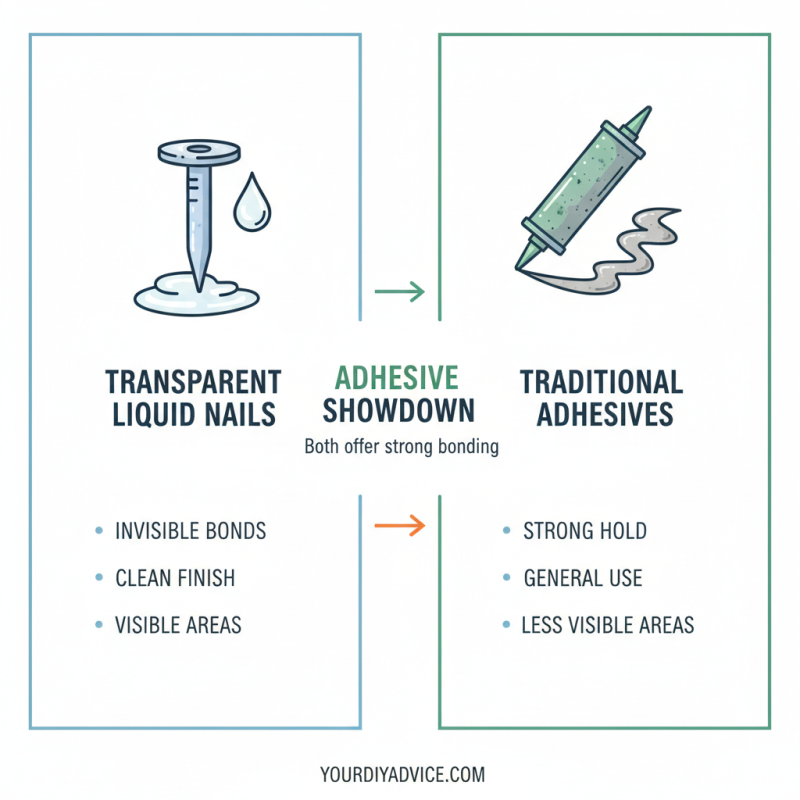
Comparative Strength: Transparent Liquid Nails vs. Traditional Adhesives
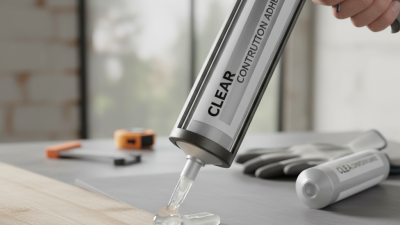
When comparing transparent liquid nails to traditional adhesives, several factors come into play. Both options offer strong bonding, but their specific applications differ. Transparent liquid nails are ideal for projects needing invisibility. They provide a clean finish, making them perfect for visible areas.
One significant advantage of transparent liquid nails is their versatility. They bond various materials such as wood, metal, and fabric. This wide range makes them suitable for multiple tasks. Traditional adhesives may struggle with certain surfaces. They often require more drying time, losing space for adjustments. Transparent options tend to set quicker, enhancing project efficiency.
**Tip**: Always test a small area first. This ensures compatibility between surfaces. Also, consider the drying time required for your projects. Too often, users overlook this critical detail, leading to frustrations.
**Tip**: Use an applicator for precise application. A steady hand prevents messy results. This method can help avoid issues like overspill.
Mistakes happen. It's crucial to allow for trial and error. Not every bond will hold as expected. Reflecting on each attempt enhances future projects. Adaptation is key in mastering any bonding technique.
Safety Precautions and Best Practices When Using Transparent Liquid Nails
When using transparent liquid nails, safety comes first. Always work in a well-ventilated area. Fumes can cause headaches or dizziness. Avoid skin contact by wearing gloves. If you spill some, clean it up immediately. This helps prevent slips and mishaps.
Check the surface before applying. It should be clean and dry. Dust and moisture can weaken the bond. Apply a small amount first to test adhesion. Sometimes, the bond may not hold as expected. Adjusting the application method can help fix this.
Tips: Use a putty knife for even application. This ensures it spreads smoothly. If it comes out too thick, the bond may not cure correctly. Store the container tightly sealed to keep it fresh. A little bit goes a long way. Be aware that some surfaces may react unexpectedly. If your bond fails, consider revising your technique.
Common Projects and Materials Suited for Transparent Liquid Nails
Transparent liquid nails provide versatile solutions for various bonding needs. You can effectively use them on different materials. Wood, metal, glass, and ceramics are all great candidates. These adhesives offer strong, clear bonds, which make them ideal for visible projects. When used on furniture repairs, the clear finish makes flaws less noticeable.
In home decor, transparent liquid nails can bond decor elements to walls or other surfaces. They work well for gluing photo frames and artwork. However, users sometimes find it challenging to control the amount applied. A little goes a long way, and excess can create messy edges. Practice is key here. For DIYers, transparent liquid nails can secure tiles or glass without drawing attention to the adhesive. Yet, patience is required to ensure proper alignment before the bond sets.
One area where people struggle is with drying times. They vary depending on the material and environment. Always check the instructions for specific guidance. Mistakes may happen, resulting in misaligned pieces. Reflecting on these moments can enhance one’s skills for future projects. Learning from imperfections leads to better results in the long run.
Bonding Strength of Transparent Liquid Nails with Various Materials