How to Use Transparent Liquid Nails for Strong Adhesion?
Transparent Liquid Nails can be a game changer for various projects. This adhesive product offers strong bonding capabilities, making it ideal for a range of materials. Whether you're working with wood, metal, or ceramics, it delivers reliable results.
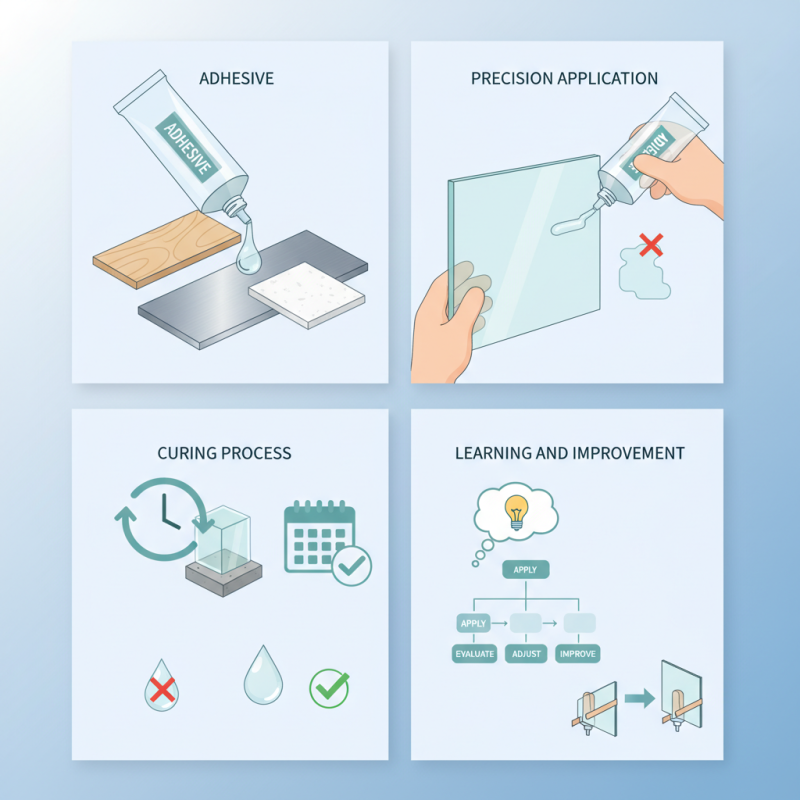
One key aspect of using Transparent Liquid Nails is precision. You must apply it correctly to achieve the best adhesion. A small misstep can weaken the bond. Take your time and ensure a clean application surface. Although mistakes happen, learning from them can improve your technique.
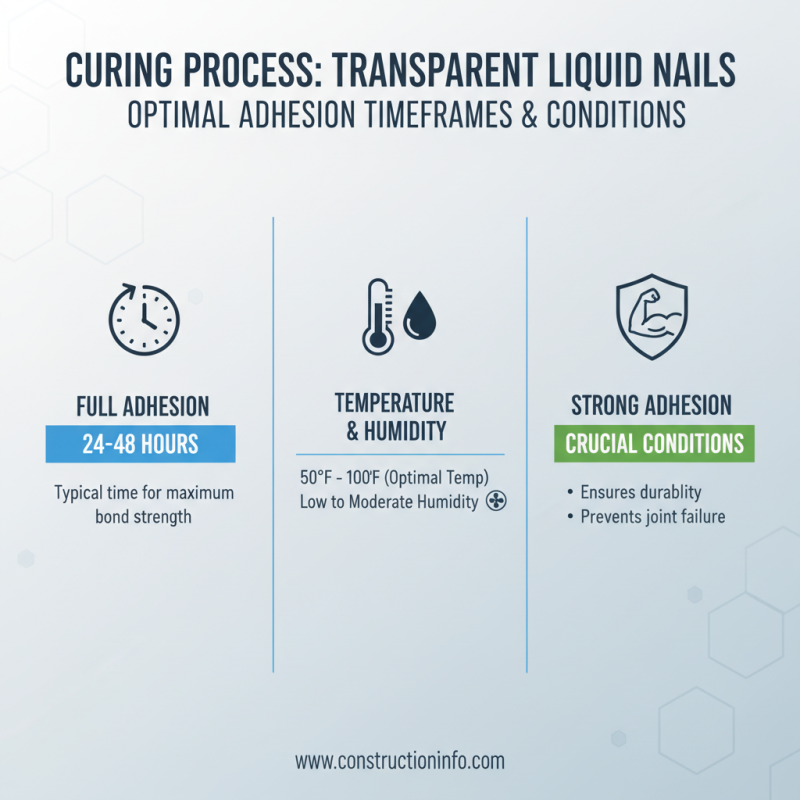
In addition, understanding the curing process is crucial. Transparent Liquid Nails needs proper drying time to reach its full potential. Rushing through this step may lead to disappointment. Embrace the process, and don't be afraid to reflect on your outcomes for future improvements. Each application teaches valuable lessons.
Understanding Transparent Liquid Nails: Composition and Characteristics
Transparent liquid nails are a versatile adhesive used in various applications. Their composition generally includes synthetic polymers, providing strong bonding power and flexibility. This unique formula allows them to adhere effectively to different materials, including wood, metal, and plastic. Users appreciate the clear finish, which blends seamlessly with projects.
One key characteristic of transparent liquid nails is their fast-setting nature. They can bond surfaces quickly, which is crucial in time-sensitive projects. However, one must ensure proper surface preparation. Dust and grease can compromise the adhesive's strength. A clean surface leads to a better bond.
Another aspect to consider is the temperature and moisture levels during application. These factors can affect how the adhesive cures. Even a slight temperature variation may alter its performance. It's essential to follow guidelines closely. Experimentation in varying conditions can yield different results. Understanding these elements is crucial for effective use. Often, people overlook these finer details, leading to less-than-ideal outcomes. Being aware of such nuances can lead to stronger, more reliable adhesion in your projects.
How to Use Transparent Liquid Nails for Strong Adhesion? - Understanding Transparent Liquid Nails: Composition and Characteristics
| Characteristic |
Details |
| Composition |
Synthetic polymers, water-based, with additives for flexibility |
| Drying Time |
Approximately 24 hours for full cure |
| Color |
Transparent when dry |
| Application |
Can be applied using a caulking gun; suitable for indoor and outdoor use |
| Adhesion Strength |
High strength, suitable for wood, metal, and other materials |
| Temperature Resistance |
Effective from -20°C to 60°C |
| Cleanup |
Clean tools with water before the adhesive dries |
| Safety Precautions |
Use in well-ventilated areas; avoid skin and eye contact |
Preparing Surfaces for Optimal Adhesion with Transparent Liquid Nails
Preparing surfaces is crucial for achieving strong adhesion with transparent liquid nails. Clean and smooth surfaces allow for better bonding. According to industry studies, proper surface preparation can increase adhesion strength by up to 50%. This is a significant boost when working on projects that require durability.
Start by removing any dust, dirt, or grease. A clean surface ensures that the adhesive bonds effectively. Use a mild detergent or solvent for tougher residues. Even small amounts of debris can weaken adhesion. Make sure to allow the surface to dry completely. Moisture can compromise the bonding process, leading to failures.
Rough textures can enhance adhesion as well. Sanding a surface slightly can create ridges for better grip. Yet, too much roughness may actually hinder performance. Balancing smoothness and texture is key. Remember, achieving the perfect surface is an art that requires practice. Each project may present unique challenges. Assess your methods and adjust as needed to ensure strong, lasting bonds.
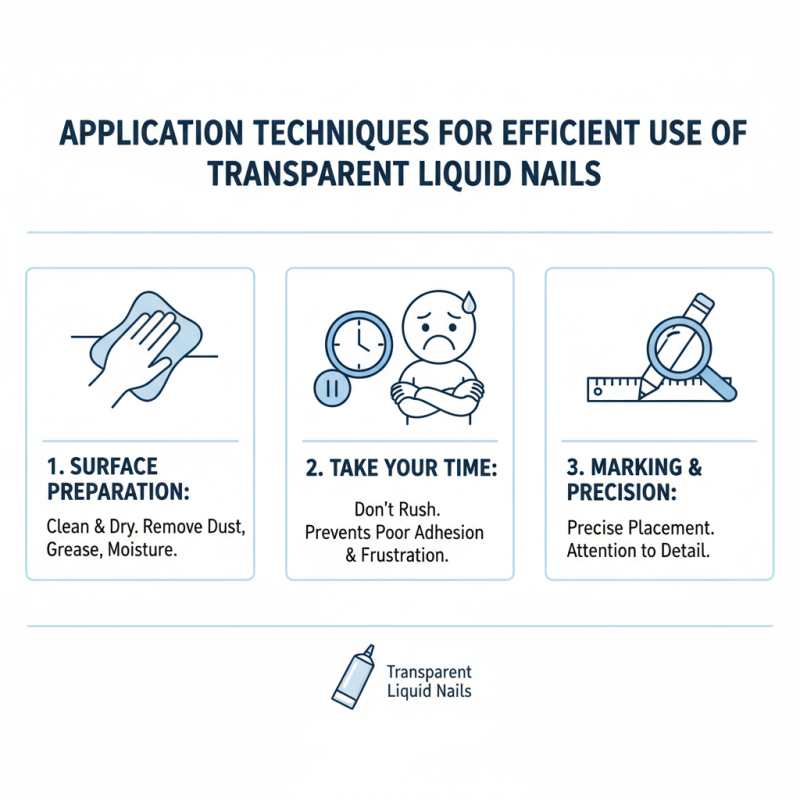
Application Techniques for Efficient Use of Transparent Liquid Nails
When using transparent liquid nails, preparation is crucial. Start by ensuring surfaces are clean and dry. Dust, grease, or moisture can weaken adhesion. Take your time during this step. Rushing can lead to poor results and frustration later on. Marking the application area helps in achieving precise placement. This is where attention to detail truly matters.
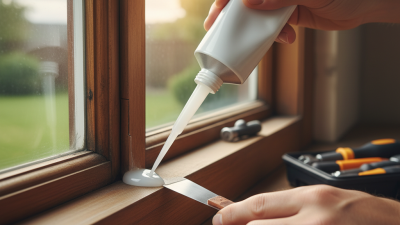
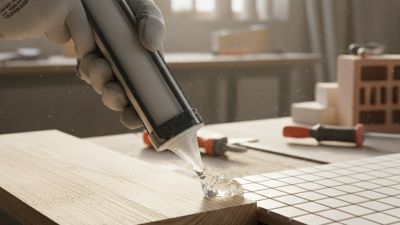
When applying the adhesive, use a caulking gun for an even bead. Apply a steady and consistent pressure. Avoid applying too much adhesive; a small amount often suffices. Place the materials together within 10 minutes. This timeframe allows for adjustment but also requires speed. Practice can help improve this skill. If mistakes happen, try to learn from them.
Press the pieces firmly for a strong bond. This pressure is necessary for proper adhesion, but don’t overdo it. Allow the bond to cure fully. This might take 24 hours, depending on conditions. Patience can be hard but is often rewarded with lasting results. Remember, every project teaches us something. Reflect on your technique and look for ways to improve.
Comparative Analysis of Adhesive Strength in Different Environments
When assessing adhesive strength in various environments, the performance of transparent liquid nails is crucial. A study by the Adhesive and Sealant Council indicates that humidity can impact adhesion significantly. In high-humidity conditions, certain adhesives lose up to 30% of their strength. This might not be obvious at first glance, but the long-term effects can be detrimental.
Temperature variations also play a critical role. Research shows that adhesives can weaken by as much as 25% in extreme cold. In environments where temperatures fluctuate, relying solely on typical adhesive options could lead to failures. It’s essential to consider these environmental factors when selecting an adhesive for a project.
Furthermore, surface preparation is often overlooked but vital. Even a small amount of dirt or grease can reduce adhesion strength by 50%. This is a reminder to ensure surfaces are clean. Reflecting on these details is important in making informed decisions for strong adhesion.