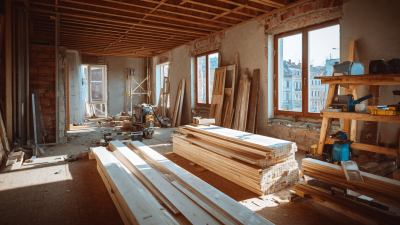
Transform Your Home Projects with No Nails Adhesive: A Comprehensive Guide to Hassle-Free Bonding
 In the realm of home improvement, the shift towards innovative bonding solutions has radically transformed traditional practices. According to a recent report by the Adhesive and Sealant Council, the global adhesive market is projected to reach $70 billion by 2027, driven by the increasing demand for alternatives to conventional tools and materials. Among these innovative solutions, No Nails Adhesive stands out for its ability to provide a secure bond without the need for mechanical fasteners, thereby simplifying projects and reducing installation time. This comprehensive guide dives into the versatility and practical applications of no nails adhesive, catering to DIY enthusiasts and professionals alike who seek hassle-free bonding methods. By harnessing the power of advanced adhesive technology, homeowners can confidently tackle a variety of projects, reinventing their spaces with ease and efficiency.
Understanding No Nails Adhesive: Innovative Bonding Solutions for Home Projects
 No nails adhesive is revolutionizing the way we approach home projects, providing
innovative bonding solutions that simplify the construction and repair processes. These adhesives are designed to provide a
strong, lasting bond without the need for traditional fasteners, making them ideal for various
materials including wood, metal, plastic, and even ceramic. Whether you're mounting shelves, repairing broken items, or taking
on creative DIY projects, no nails adhesive offers the convenience of a
mess-free application and a hassle-free finish.
No nails adhesive is revolutionizing the way we approach home projects, providing
innovative bonding solutions that simplify the construction and repair processes. These adhesives are designed to provide a
strong, lasting bond without the need for traditional fasteners, making them ideal for various
materials including wood, metal, plastic, and even ceramic. Whether you're mounting shelves, repairing broken items, or taking
on creative DIY projects, no nails adhesive offers the convenience of a
mess-free application and a hassle-free finish.
Understanding how no nails adhesive works is crucial for maximizing its benefits. These adhesives use advanced formulations
that ensure quick curing and exceptional strength, allowing you to confidently complete tasks that would traditionally require
screws or nails. They are also typically easy to apply, with many options available in
convenient tubes or dispensers, allowing for precise application. As home improvement
enthusiasts seek cleaner and more efficient ways to manage projects, no nails adhesive stands
out as a versatile solution that enhances both creativity and functionality in home endeavors.
Benefits of Using No Nails Adhesive: Efficiency, Cleanliness, and Versatility
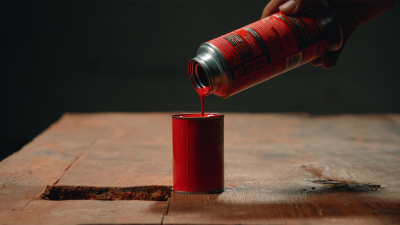
 No Nails Adhesive has transformed the way we approach home projects, boasting significant benefits like
efficiency, cleanliness, and versatility.
According to a recent industry report by the Adhesive and Sealant Council, the global adhesive market is
projected to reach $53 billion by 2024,
underscoring the growing reliance on innovative bonding solutions. No Nails Adhesive provides a quick
curing time and excellent bonding strength, allowing homeowners to complete projects
swiftly without the mess associated with traditional nail or screw methods.
No Nails Adhesive has transformed the way we approach home projects, boasting significant benefits like
efficiency, cleanliness, and versatility.
According to a recent industry report by the Adhesive and Sealant Council, the global adhesive market is
projected to reach $53 billion by 2024,
underscoring the growing reliance on innovative bonding solutions. No Nails Adhesive provides a quick
curing time and excellent bonding strength, allowing homeowners to complete projects
swiftly without the mess associated with traditional nail or screw methods.
One of the standout advantages of using No Nails Adhesive is its cleanliness. The absence of visible
fasteners results in a smooth, polished finish that enhances the aesthetic appeal of any project.
Furthermore, its versatility allows it to bond various materials, from wood and metal to ceramics and
plastics, making it an ideal solution for countless applications. For example, when installing trim
or molding, No Nails Adhesive eliminates the need for putty or paint touch-ups.
Tips: When using No Nails Adhesive, ensure that surfaces are clean and dry for optimal
adherence. Additionally, applying the adhesive evenly and allowing adequate curing time can maximize
bond strength. For large projects, consider using a caulking gun for precise application, ensuring you
achieve a neat finish without excess adhesive.
Different Types of No Nails Adhesives: Choosing the Right One for Your Needs
When it comes to home projects, choosing the right adhesive can make all the difference. No nails adhesives come in various types, each designed for specific applications and surfaces. For instance, polyurethane-based adhesives are known for their strong bonding capabilities on porous materials like wood and concrete. They are waterproof and suitable for both indoor and outdoor use, making them a versatile option for a range of projects.
On the other hand, if you’re working with lightweight materials or need a temporary bond, consider using a silicone adhesive. This type is flexible, allowing for some movement without breaking the bond, and is ideal for areas exposed to moisture, such as bathrooms. For quick fixes, double-sided tape adhesive can be a great option. It’s easy to use and perfect for small items like pictures or lightweight decorations. By understanding the different types of no nails adhesives, you can choose the one that best suits your project needs, ensuring a strong and lasting bond without the hassle of traditional methods.
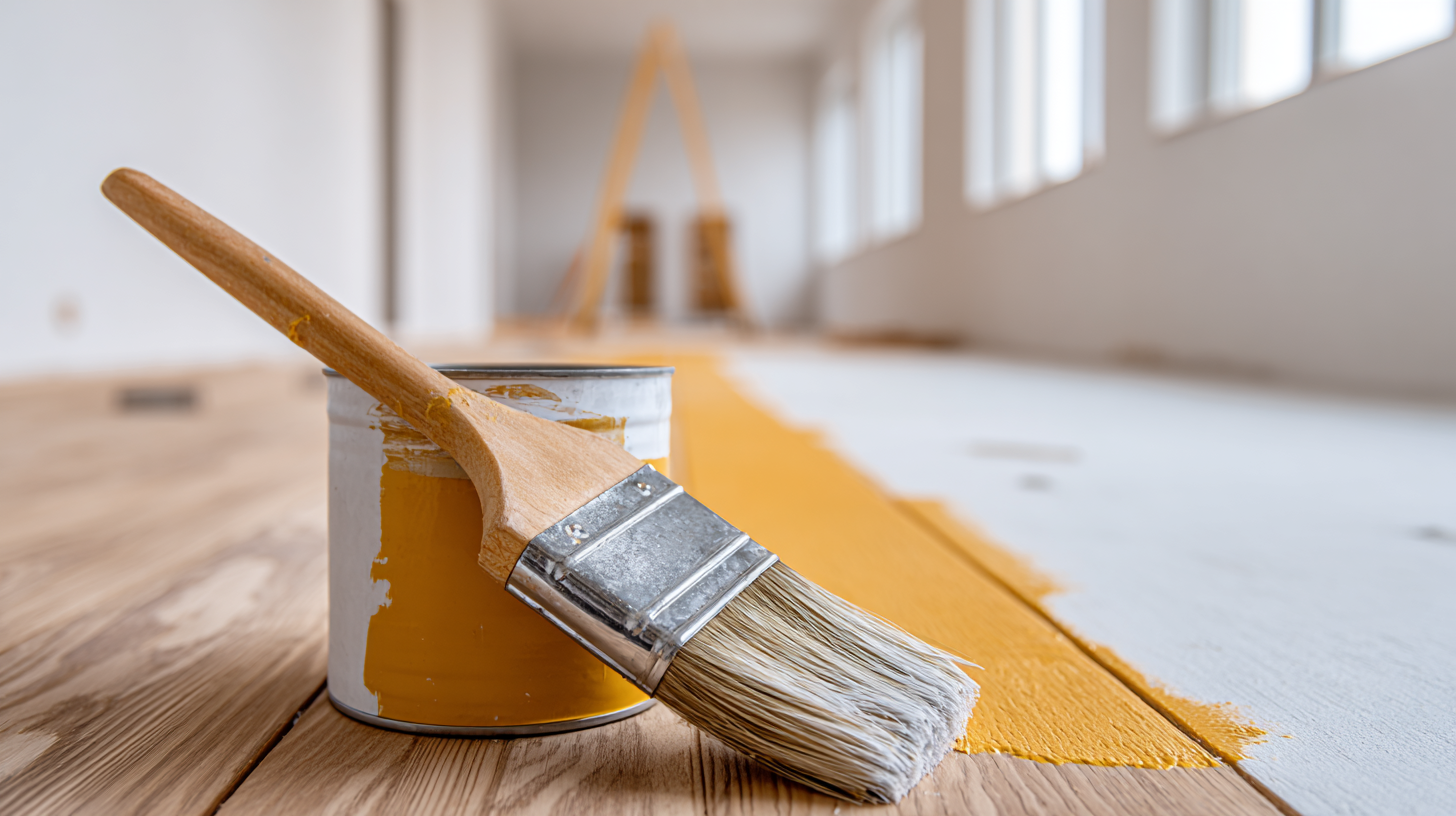
Transform Your Home Projects with No Nails Adhesive
| Adhesive Type |
Best For |
Drying Time |
Strength |
Water Resistance |
| Construction Adhesive |
Heavy-duty bonding |
24 hours |
High |
Yes |
| Epoxy Adhesive |
Metal and plastics |
5-10 minutes (working time) |
Very High |
Excellent |
| MS Polymer Adhesive |
Wood, metal, and plastics |
1-2 hours |
Moderate to High |
Yes |
| Silicone Adhesive |
Glass and ceramics |
24 hours |
Low to Moderate |
Yes |
| Acrylic Adhesive |
Flexible materials |
30 minutes |
Moderate |
Moderate |
Step-by-Step Guide to Using No Nails Adhesive Effectively in Your Projects
When embarking on home projects, the right adhesive can make all the difference.
No nails adhesive offers a convenient and mess-free bonding solution that simplifies the process of sticking various materials together.
To utilize this product effectively, begin by preparing your surfaces. Ensure they are clean, dry, and free from dust or grease to promote optimal adhesion.
For best results, lightly sand the surfaces if necessary, as this will create a better grip for the adhesive.
Once your surfaces are ready, it’s time to apply the no nails adhesive.
Use a caulking gun for precise application, squeezing a steady line of adhesive along the edges of the materials you are bonding.
Remember to follow the manufacturer’s instructions regarding the amount needed and drying times.
After positioning the materials, apply firm pressure for several seconds to secure them in place.
Depending on the project, you may need to hold them temporarily using clamps or weights until the adhesive sets.
With these steps, you can achieve strong, lasting bonds without the fuss of traditional nails, making your home projects not only easier but also more enjoyable.
Common Mistakes to Avoid When Using No Nails Adhesive for Home Improvements
When undertaking home improvement projects, many DIY enthusiasts are turning to
no nails adhesive for its ease of use and
strong bonding capabilities. However, there are
common mistakes that can undermine the effectiveness of these adhesives. According to
a report by the Adhesive and Sealant Council, approximately 30% of DIY failures
are attributed to improper adhesive application. One frequent error is not adequately
preparing the surfaces to be bonded. The surfaces must be clean, dry, and free of dust or grease to ensure a
strong grip.
Another common mistake is ignoring the curing time
recommended by manufacturers. Many users apply weight or pressure too soon, disrupting
the bonding process. Industry data indicates that improper curing can lead to a bond
strength reduction of up to 50%, resulting in a failed project. Additionally,
temperature and humidity play a
crucial role; failing to consider these environmental factors can compromise the
adhesive's performance. Awareness of these pitfalls can significantly enhance the
success rate of your no nails adhesive projects, making your home improvements truly
hassle-free.