Top 10 Liquid Nails Uses and Tips for Home Projects?
When it comes to home improvement, Liquid Nails is a powerful ally. According to expert contractor Mark Jensen, "Liquid Nails makes bonding almost anything as easy as it gets." This adhesive is not just for professionals; homeowners can also tackle their projects effectively using it.
From repairing furniture to crafting home decor, Liquid Nails has versatile applications. It cures quickly, creating strong bonds that stand the test of time. However, using Liquid Nails is not always straightforward. Sometimes, achieving the perfect bond requires proper surface preparation and environmental considerations. If not applied correctly, it can be frustrating.
Whether you are mounting shelves or fixing broken items, understanding how to utilize this adhesive can save time and effort. Mistakes can happen, but learning from them is part of any DIY journey. Liquid Nails offers a robust solution, yet it demands precision and thoughtfulness in application.
Understanding Liquid Nails: What It Is and How It Works
Liquid nails are a versatile adhesive used in various home projects. This strong, construction-grade glue bonds many materials. It works well with wood, metal, foam, ceramic, and more. The key to its effectiveness lies in its formulation, which allows it to expand and contract with materials. This flexibility helps prevent cracks and breaks, especially in changing temperatures.
Using liquid nails can be straightforward, but there are important tips to keep in mind. For example, surface preparation is crucial. Clean surfaces ensure a strong bond. Ensure the materials fit well together to avoid misalignment. You may find it hard to reposition items once applied. Always allow adequate drying time before stress is applied.
While liquid nails can simplify many tasks, some users may struggle with application. A messy process can often result in over-excess glue. Wiping it away can be tricky. Using the right tools helps minimize errors. Experimenting with different methods will enhance results over time. An understanding of the product is essential for success in your projects.
Common Applications of Liquid Nails in Home Improvement Projects
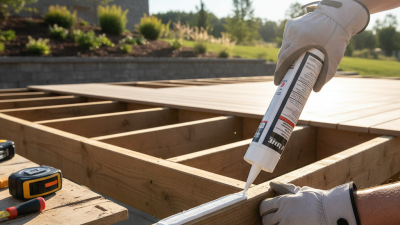
Liquid nails are versatile adhesives widely used in home improvement projects. One common application is in the installation of molding and trim. According to an industry report, using quality adhesive can reduce labor time by up to 30%. This makes projects like updating baseboards quicker and more efficient. However, correct application is key. Misalignment can lead to visible gaps.
Another frequent use is for mounting items such as shelves or mirrors. Many homeowners underestimate the weight limits. Research shows that adhesives can support substantial weight, but surface preparation is crucial. Dust or moisture can weaken the bond. Prep work matters; it’s often overlooked but essential for achieving lasting results.
Repairs are another area. Liquid nails can fix broken items, like furniture or ceramics. While this can be cost-effective, it requires careful technique. Mistakes in application can make objects look worse. There is a balance between strength and aesthetics. Many find that practice improves results, but it might take a few attempts.
Step-by-Step Guide to Using Liquid Nails Effectively
Liquid nails are versatile adhesive solutions for various home projects. Their strength makes them ideal for bonding materials like wood, metal, and ceramic. Proper usage is vital to achieve the best results.
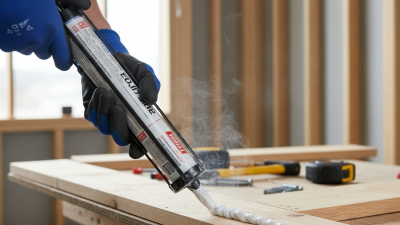
Begin with surface preparation. Ensure surfaces are clean, dry, and free of dust. Apply the adhesive to one surface only. A zig-zag pattern often works best. Press both surfaces together firmly. For optimal results, hold them in place for a few seconds.
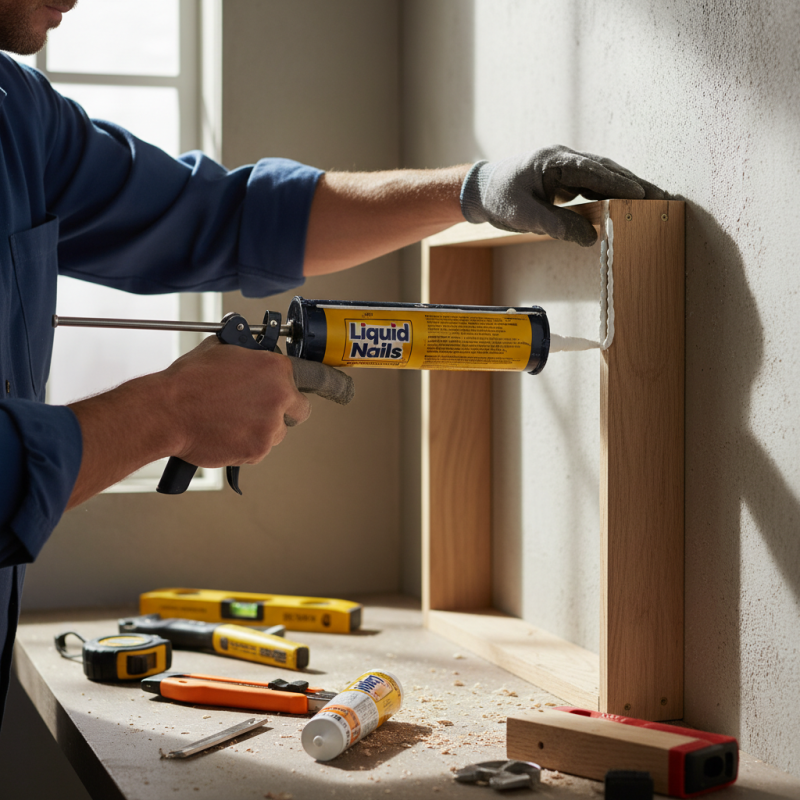
Tip: Always use a caulking gun for more control. A controlled application minimizes mess. Remember, while liquid nails offer strong bonds, not all bonds are permanent. Sometimes, you may need to remove or reposition materials. In such cases, be aware that the adhesive can be quite stubborn.
To prevent accidents, avoid over-application. Too much adhesive can lead to a poor grip. Additionally, working in a well-ventilated area is essential. This minimizes inhalation risks. Reportedly, 15% of users encounter issues due to improper ventilation when using adhesive products.
Testing a small area first is wise. This step ensures adhesion is effective before committing fully. Some projects might take longer than expected to set. Patience can be beneficial. The initial bonding happens quickly, but full strength can take days.
Top 10 Liquid Nails Uses and Tips for Home Projects
| No. |
Use Case |
Tip |
| 1 |
Wood bonding |
Ensure surfaces are clean and dry for the best adhesion. |
| 2 |
Installing trim or moldings |
Use a caulking gun for precision application. |
| 3 |
Repairing furniture |
Clamps may be necessary to hold pieces together while drying. |
| 4 |
Attaching panels |
Check for alignment before the adhesive sets. |
| 5 |
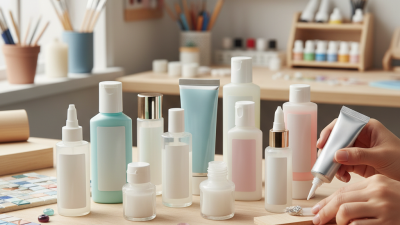
Craft projects |
Apply in a well-ventilated area. |
| 6 |
Fixing loose tiles |
Make sure to apply pressure while it cures. |
| 7 |
Sealing gaps and cracks |
Smooth with a putty knife for a clean finish. |
| 8 |
Installing shelves |
Use wall studs for added support. |
| 9 |
Attaching carpet to floors |
Apply evenly to avoid bubbles. |
| 10 |
Constructing wooden frames |
Allow proper cure time before stressing the joints. |
Safety Tips When Working with Liquid Nails
When working with Liquid Nails, safety should come first. Always wear protective gloves. These will help prevent skin irritation. Safety goggles are also essential. They protect your eyes from splashes. Working in a well-ventilated area is crucial. The fumes can be strong, and inhaling them isn’t safe.
Keep the workspace organized. A cluttered area can lead to accidents. Surfaces should be clean and dry. This ensures a strong bond and reduces the chance of slips. If you’re using Liquid Nails indoors, make sure the room is ventilated. This minimizes exposure to harmful vapors.
Storage is important too. Liquid Nails should be kept in a cool, dry place. Avoid areas with extreme temperatures. If you're unsure about using it, review guidelines. Taking the time to read safety instructions can prevent mishaps. Remember, it’s better to take precautions than to face consequences later.
Maintaining and Storing Liquid Nails for Best Results
Proper maintenance and storage of Liquid Nails can significantly impact their effectiveness. According to a report by the Adhesives and Sealants Council, optimal temperatures for storing adhesives are between 60°F and 80°F. Keeping Liquid Nails at these temperatures helps maintain their consistency and strength. Too much heat or cold can degrade the product, leading to poor adhesion.
When storing, keep the tubes upright and tightly sealed. Exposure to air can cause the adhesive inside to cure prematurely. A study from the European Adhesive Industry Association suggested that nearly 20% of product failures are due to improper handling and storage. Even slight temperature fluctuations can result in thickening, making the application difficult. It’s a good practice to periodically check your supplies to avoid using expired products, which may not perform as expected.
Before using, assess the expiration date. Sometimes, even unopened tubes can lose effectiveness over time. If the adhesive appears thick or has a strange odor, reconsider using it. Improper storage can lead to wasted time and resources on projects. There's no substitute for written guidance in these cases. Regularly review storage habits to ensure that every project starts with the best materials.