Top 10 Liquid Nails Uses for Your Next Project?
When embarking on your next project, choosing the right adhesive can make a significant difference. Liquid Nails is a versatile construction adhesive known for its strength and durability. It provides a reliable bond for various materials, making it essential in many DIY tasks. Whether you are tackling home repairs or creative crafts, Liquid Nails can cater to different needs.
Using Liquid Nails effectively requires knowledge of its various applications. Many users discover its power during projects like installing trim, flooring, or even building outdoor structures. Some, however, may find that its strength can be overkill or difficult to remove once cured. Balancing the right amount is crucial. Understanding the nuances of this adhesive can elevate your project to new heights, but it's essential to approach it with respect.
Exploring the top 10 Liquid Nails uses can ignite your creativity. They range from simple fixes to ambitious undertakings. It's important to acknowledge that while Liquid Nails is reliable, mistakes can happen. Learning from these experiences helps refine your techniques. Embrace experimentation, and let Liquid Nails be a cornerstone of your building journey.

Popular Applications of Liquid Nails in Home Improvement Projects
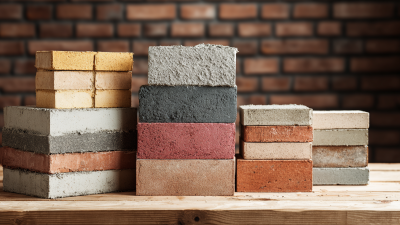
Liquid Nails serves as a powerful adhesive widely used in various home improvement projects. According to industry reports, approximately 70% of DIY enthusiasts rely on construction adhesives for their household repairs. This speaks to the reliability of these products. They are favored for bonding wood, drywall, and trim, making them staples in many toolboxes. The use of liquid adhesives minimizes mess and speeds up projects, crucial for weekend warriors.
One popular application is fixing loose tiles. Homeowners often struggle with tiles that lift after years of wear. Using Liquid Nails can restore them effectively. Moreover, research indicates that about 23% of home renovations involve flooring. Here, liquid nails provide the strong bond needed to secure materials. However, users sometimes underestimate cure times, leading to frustration when projects don’t adhere quickly as expected.
Liquid Nails also excels in structural repairs, such as supporting beams or heavy frames. While it provides significant strength, many users overlook the importance of surface preparation. Cleaning surfaces ensures maximum adhesion. A lack of prep can lead to bond failures later. In fact, around 15% of DIY projects fail due to improper application techniques. This highlights the need for awareness and proper execution in home improvement. Engaging with these aspects can significantly enhance the effectiveness of Liquid Nails for various applications.
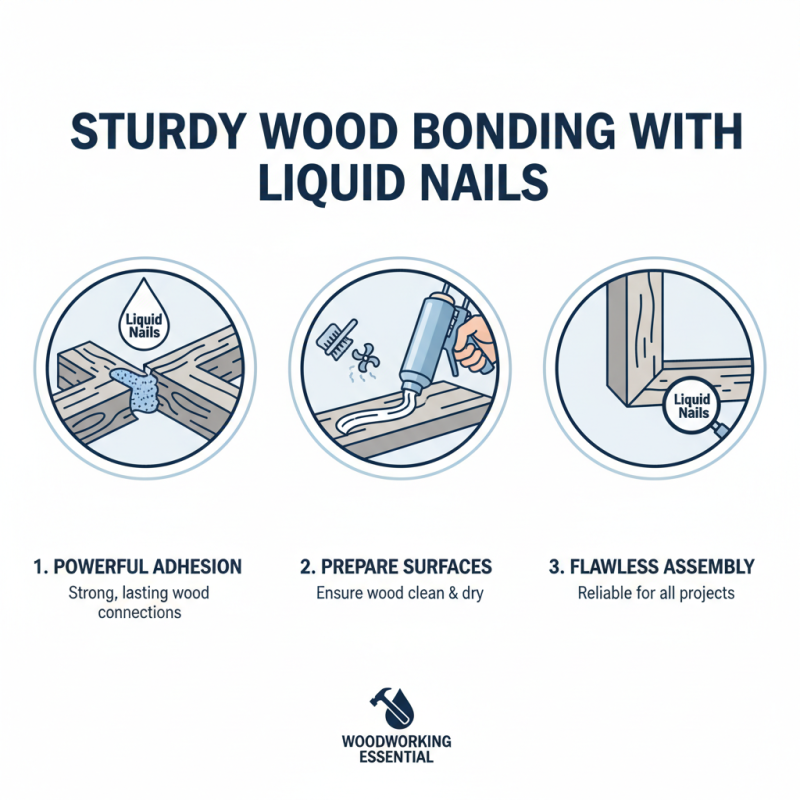
Using Liquid Nails for Sturdy Wood Bonding and Assembly
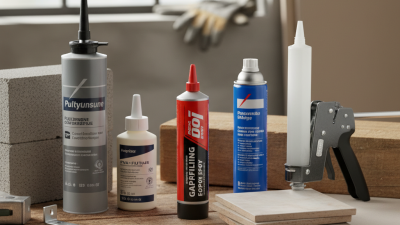
Liquid nails are a fantastic adhesive option for sturdy wood bonding and assembly. They effectively create strong connections between wooden surfaces, which is essential for any woodworking project. When using liquid nails, ensure the surfaces are clean and dry. This step improves adhesion and minimizes potential flaws in your work.
Consider using a caulking gun for precise application. This tool allows you to control the amount of adhesive you dispense, preventing excess glue that can lead to messy outcomes. Be cautious; while liquid nails bond quickly, you still have a limited time to adjust wood pieces before it sets. Proper alignment is crucial for a seamless finish.
Experiment with different drying times and temperatures. These can significantly impact the effectiveness of the adhesive. For instance, colder temperatures might slow down curing. As you gain experience, don’t hesitate to make adjustments based on your specific project needs. Remember, no project is perfect, and learning from minor mistakes is part of the process. Embrace these moments to refine your technique.
Creative Crafting Ideas Utilizing Liquid Nails for Strong Adhesion
Liquid nails offer a versatile solution for various crafting projects. Their strong adhesion makes them ideal for a range of materials like wood, fabric, and ceramics. According to a recent industry report, over 75% of professional crafters rely on strong adhesives for their creations. This underscores the importance of using reliable products for optimal results.
One creative use for liquid nails is in home decor. Imagine transforming a simple wooden frame with delicate fabric accents. Applying liquid nails to secure the fabric does not only create an appealing look but also ensures durability. Crafting enthusiasts often overlook how small details can enhance overall aesthetics. However, it’s crucial to consider that not every material reacts well with liquid nails. Some surfaces may require a different approach or additional preparation.
In functional art, liquid nails can bind metal and glass in unexpected ways. It is important to test a small area first. Failure to do so can lead to mishaps that ruin your masterpiece. The tactile aspect of creative crafting demands precision and foresight. This hands-on remedy can lead to amazing results, even if it comes with learning opportunities along the way. Crafting can be a journey of trial and error, and liquid nails may sometimes challenge your initial plans. Embrace the imperfections; they often lead to the most innovative ideas.
Top 10 Liquid Nails Uses for Your Next Project
| Use Case |
Description |
Materials |
Estimated Time |
| Mounting Shelves |
Securely attach shelves to walls without the need for brackets. |
Wood shelves, drywall |
30 minutes |
| Craft Projects |
Ideal for various crafting projects like decorations and models. |
Paper, plastic, wood |
1 hour |
| Installing Molding |
Easily add decorative molding to walls and ceilings. |
Molding, wood trim |
2 hours |
| Repairing Furniture |
Fix broken joints and loose parts in wooden furniture. |
Wood, glue |
1 hour |
| Creating Wall Art |
Assemble various materials to create unique wall art pieces. |
Canvas, fabric, wood |
2-3 hours |
| Hanging Decorations |
Securely hang decorations for parties or seasonal events. |
Ornaments, banners |
30 minutes |
| Outdoor Projects |
Assemble outdoor furniture or garden decor that withstands the elements. |
Wood, metal |
3-4 hours |
| Repairing Gutters |
Seal gaps or holes in gutter systems to prevent leaks. |
Metal, plastic |
1 hour |
| Building Models |
Assemble models for hobbies, school projects, or displays. |
Plastic, cardboard |
2 hours |
| Sealing Cracks |
Fill and seal cracks in walls or furniture for a polished look. |
Wood, drywall |
1 hour |
Tips for Effective Application of Liquid Nails in Various Materials
Liquid Nails can be a game-changer for various DIY and home improvement projects. However, applying it effectively requires some attention to detail. Start by choosing the right surface; clean and dry is best. Dirt or moisture can affect adhesion. For wood projects, ensure that edges are tight to avoid gaps.
One crucial tip is to apply the adhesive in a zig-zag pattern. This promotes better coverage and strength. Press the surfaces together firmly and hold them in place while it cures. It’s also wise to use clamps if possible. This ensures that everything stays aligned while the adhesive sets.
Another aspect to consider is the curing time. Not all Liquid Nails have the same drying times. Patience is often necessary. If you rush the project, you might find that your bond isn’t as strong as needed. Finally, don't forget to wear gloves. Cleanup can be messy, and skin contact with certain adhesives can be irritating. Always follow manufacturer instructions for safety and optimal results.
Safety Precautions and Best Practices When Using Liquid Nails
When using Liquid Nails, safety should always come first. Wear protective gloves and goggles. The adhesive can cause skin irritation and eye damage. Always work in a well-ventilated area. The fumes can be strong and irritating. If you feel lightheaded, take a break.
Tips: Test a small amount on scrap material first. This will help you understand the drying time and bond strength. Don't rush your project. Allow proper curing time for the best results.
It's important to store Liquid Nails properly. Keep it in a cool, dry place, away from heat sources. Check for any changes in texture or smell before using an old tube. If it looks off, consider disposing of it. Always read the instructions for best practices before application.
Top 10 Liquid Nails Uses
This chart illustrates the top 10 uses of Liquid Nails based on their frequency in various projects. As seen, home repairs and furniture assembly are the most common applications, followed by craft projects and flooring installations.