Top 5 Liquid Nails Tips for Your Next DIY Project?
When diving into DIY projects, choosing the right adhesive is crucial. Liquid Nails is a trusted brand, known for its strong bonding capabilities. Expert contractor Jane Smith states, “Liquid Nails transforms your projects with unmatched durability.” Her endorsement highlights its significance in home improvement.
Using Liquid Nails can elevate an average task to professional quality. However, improper application can lead to setbacks. It’s essential to know tips that maximize its effectiveness. With passion and practice, even beginners can achieve remarkable results. This guide explores the top five Liquid Nails tips, ensuring your projects stand the test of time.
Remember, even experts face challenges. Knowing common pitfalls makes the journey smoother. Reliable advice and hands-on experience can turn simple ideas into stunning realities. Embrace the learning curve with Liquid Nails as your partner.
Understanding Liquid Nails: Types and Uses for Your Projects
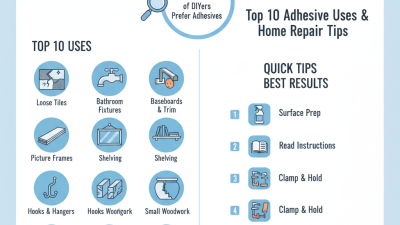
Liquid Nails is a versatile adhesive commonly used in DIY projects. Understanding the types of Liquid Nails is crucial for achieving the best results. There are several formulations, each designed for specific materials and conditions. For example, the construction grade adhesive is ideal for heavy-duty applications, while the subfloor adhesive offers improved strength for flooring projects. According to a 2022 industry report, over 65% of DIY enthusiasts prefer specific adhesives for particular tasks, emphasizing the importance of selecting the right type.
When applying Liquid Nails, surfaces must be clean and dry. This enhances adhesion and overall effectiveness. DIYers often overlook surface preparation, leading to subpar results. Data shows that improper application can reduce bond strength by up to 50%. Additionally, temperature affects the curing time of Liquid Nails. The recommended range for application is typically between 50°F and 110°F. Working outside this range can lead to unexpected failures.
Many users have reported challenges with drying times and bond failures. Observing the product's recommended cure time is essential for optimal performance. The average cure time is 24 hours, but this can vary based on environmental conditions. Adjusting your project timeline according to these factors can prevent frustrating setbacks. Remember, even seasoned DIYers can learn from their experiences, refining techniques over time to improve results.
Essential Tools for Working with Liquid Nails Efficiently
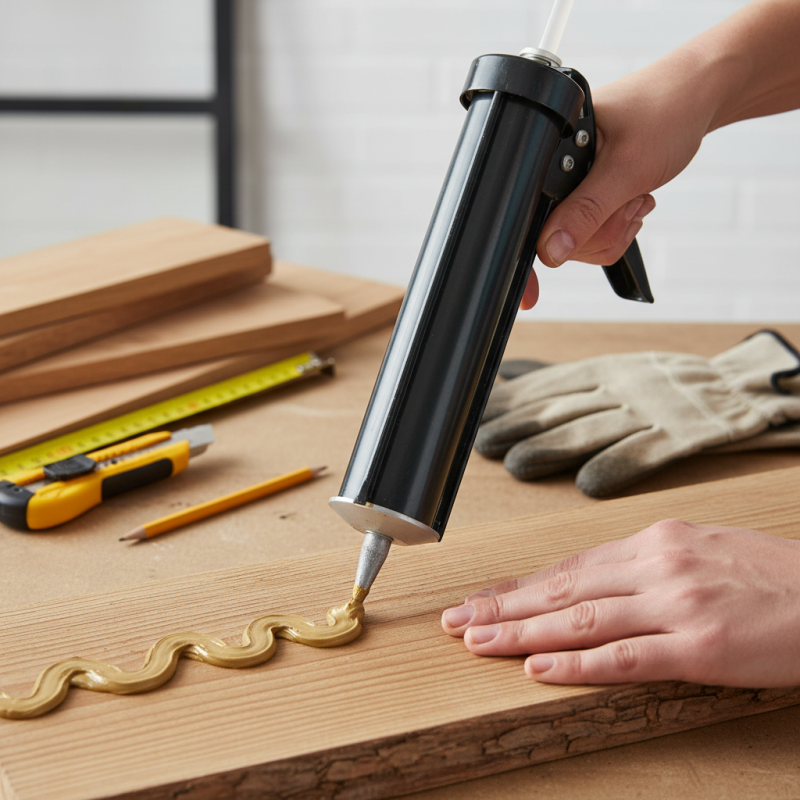
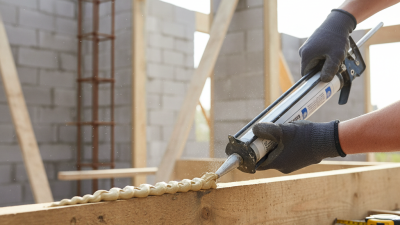
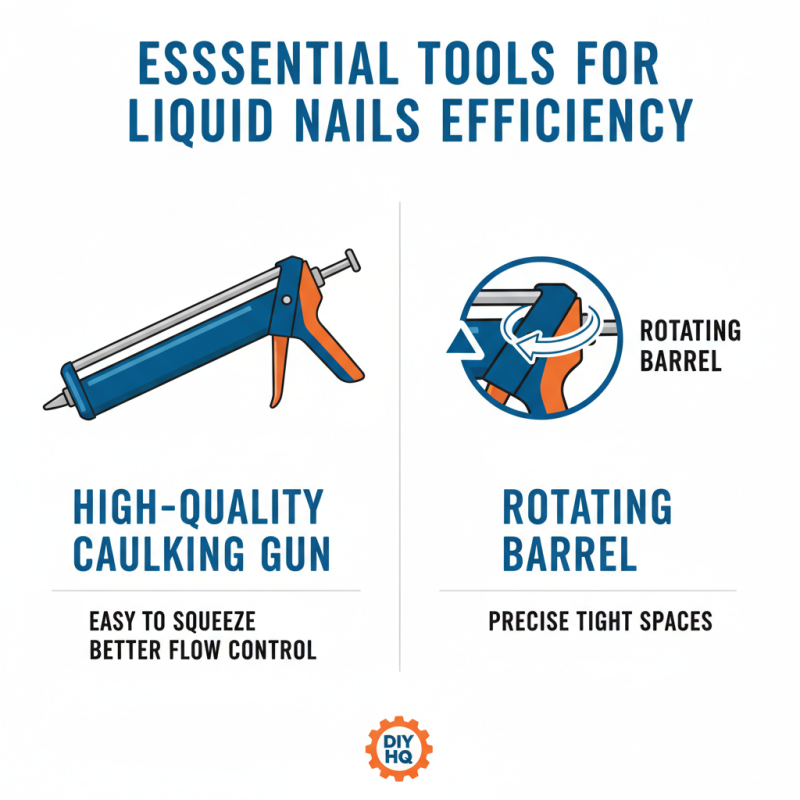
When tackling DIY projects with Liquid Nails, having the right tools is crucial. Start with a high-quality caulking gun. Choose one that is easy to squeeze. This will help you control the flow of adhesive, reducing mess and waste. A caulk gun with a rotating barrel can be especially useful for precise applications in tight spaces.
A utility knife is another essential tool. Keep it sharp for clean cuts on the nozzle of the Liquid Nails tube. A clean cut allows for better adhesive application. Also, having a damp cloth or sponge nearby can help you quickly wipe off any excess glue. This step ensures your workspace stays tidy, though accidents can still happen. It may take practice to apply the adhesive smoothly without creating a mess.
Using a putty knife can assist in spreading the adhesive more evenly, especially for larger surfaces. If the consistency of the Liquid Nails isn't perfect, it may require some effort to get it just right. A level is also vital to ensure your project is straight. Sometimes, it’s easy to overlook these details. Reflecting on your process can lead to improved techniques and better results in future projects.
Step-by-Step Application Techniques for Strong Adhesion
When tackling a DIY project, the right application techniques for Liquid Nails can make all the difference. Understanding how to prepare surfaces is crucial. Clean the surfaces thoroughly to remove dirt and grease. Research shows that proper preparation increases adhesion strength by up to 50%. This ensures that the bond formed is reliable and long-lasting.
Next, apply the adhesive in specific patterns. A consistent zigzag pattern is effective for broader surfaces, while beads can work well for smaller applications. According to experts, applying pressure during the initial bond formation enhances attachment. It is also beneficial to clamp the pieces together for at least 30 minutes to allow the adhesive to cure adequately.
Take care not to over-apply the product. Excess adhesive can lead to messy results and decreased effectiveness. Many users find themselves applying too much, only to regret it later. Knowing when to stop is an essential skill. After the application, allow adequate curing time as recommended. This period can range from 24 hours to several days depending on the project and conditions. Following these techniques ensures a stronger bond, leading to a more successful DIY project.
Top 5 Liquid Nails Tips for Your Next DIY Project
| Tip |
Description |
Application Technique |
Drying Time |
| Clean Surfaces |
Ensure surfaces are free of dust and grease. |
Use a damp cloth to clean the area before applying. |
30 minutes to 1 hour |
| Choose the Right Adhesive |
Select the appropriate type of liquid nails for your project. |
Check specifications for materials you will bond. |
Varies by product |
| Apply Evenly |
Use a consistent bead size when applying the adhesive. |
Squeeze the tube gently to create a uniform line. |
Varies by surface |
| Use Clamps |
Hold pieces together to ensure strong bonding. |
Clamp for recommended time based on product instructions. |
24 hours for full strength |
| Check Temperature |
Ensure optimal application temperature for best adhesion. |
Apply when temperatures are between 50°F and 100°F. |
N/A |
Tips for Ensuring Proper Curing Time and Conditions
Curing time is crucial for Liquid Nails projects. Many DIY enthusiasts underestimate this aspect. Proper curing allows the adhesive to reach its full strength. Studies show that improper curing can reduce bond quality by up to 30%.
Temperature and humidity are key factors. Ideal conditions often range from 60°F to 80°F with low humidity. In high humidity, drying time can double. This might leave you frustrated if you expect quick results. Always check the environment to avoid potential setbacks.
Mistakes happen. Rushing can lead to errors, like applying too much adhesive. Excess glue can take longer to cure, affecting your project. It's worth taking time to get it right. Remember, a few extra hours in waiting can save you from future repairs.
Top 5 Liquid Nails Tips for Your Next DIY Project
Common Mistakes to Avoid When Using Liquid Nails in DIY Projects
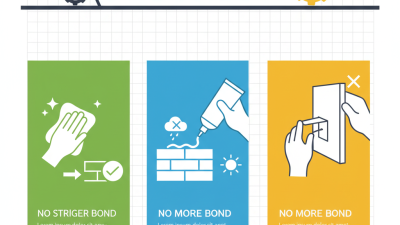
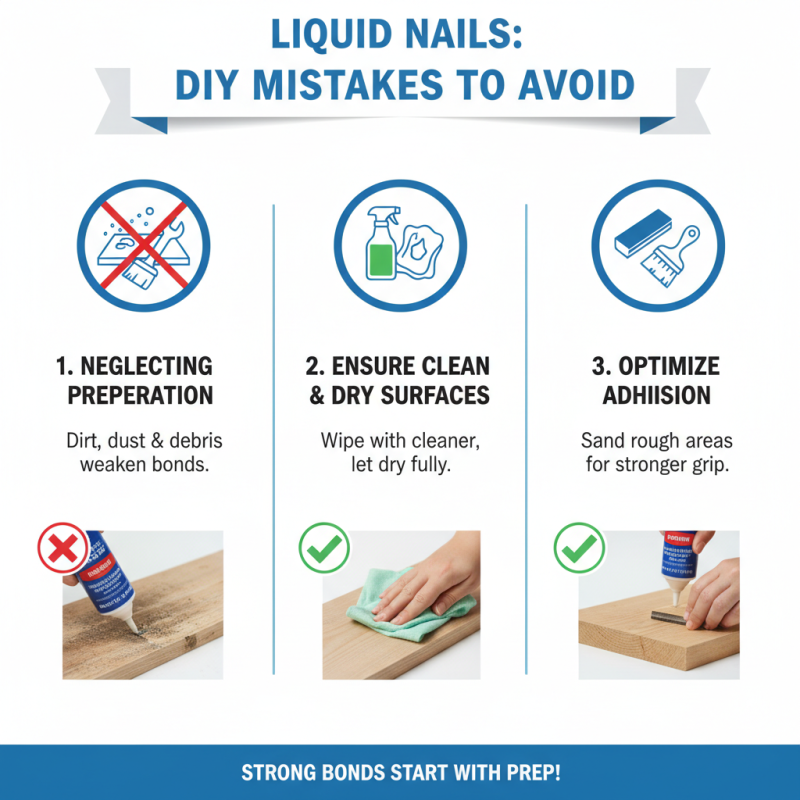
When using Liquid Nails for DIY projects, avoiding common mistakes is crucial for achieving strong, durable bonds. A significant oversight is neglecting surface preparation. According to industry reports, surfaces should be clean, dry, and free of debris. This ensures better adhesion and stronger results. Consider sanding rough areas or wiping surfaces with a suitable cleaner to maximize effectiveness.
Another prevalent mistake is using too much adhesive. Many DIY enthusiasts overapply, thinking more is better. However, excessive product can actually weaken the bond. A thin, even layer is generally most effective. A study from the Adhesive and Sealant Council suggests that proper application can boost bond strength by up to 50%.
Timing is also critical. Liquid Nails generally require adequate curing time for optimal results. Rushing the process can lead to a failed bond. Giving the adhesive the time it needs, often up to 24 hours, is essential for a successful project. Don't underestimate the importance of patience in your DIY work.