2026 How to Use Fast Dry Liquid Nails Effectively?
Fast Dry Liquid Nails is a powerful adhesive that revolutionizes construction and home improvement projects. This versatile product offers fast bonding and strong durability, making it a favorite among DIY enthusiasts and professionals alike. Its quick-drying formula allows for immediate handling, which is essential on busy job sites.
Using Fast Dry Liquid Nails effectively requires an understanding of surface preparation and application techniques. It’s crucial to apply it on clean, dry surfaces for optimal adhesion. Users often forget this step, leading to less reliable results. Additionally, avoid over-application; a thin layer usually suffices. Achieving the best results takes practice and patience.
Despite its many advantages, challenges can arise. Users might encounter issues with curing time or bonding to certain materials. Reflecting on these experiences can lead to better techniques. Fast Dry Liquid Nails is an excellent tool when used correctly. With guidance and practice, anyone can master its application.
Understanding Fast Dry Liquid Nails and Its Applications
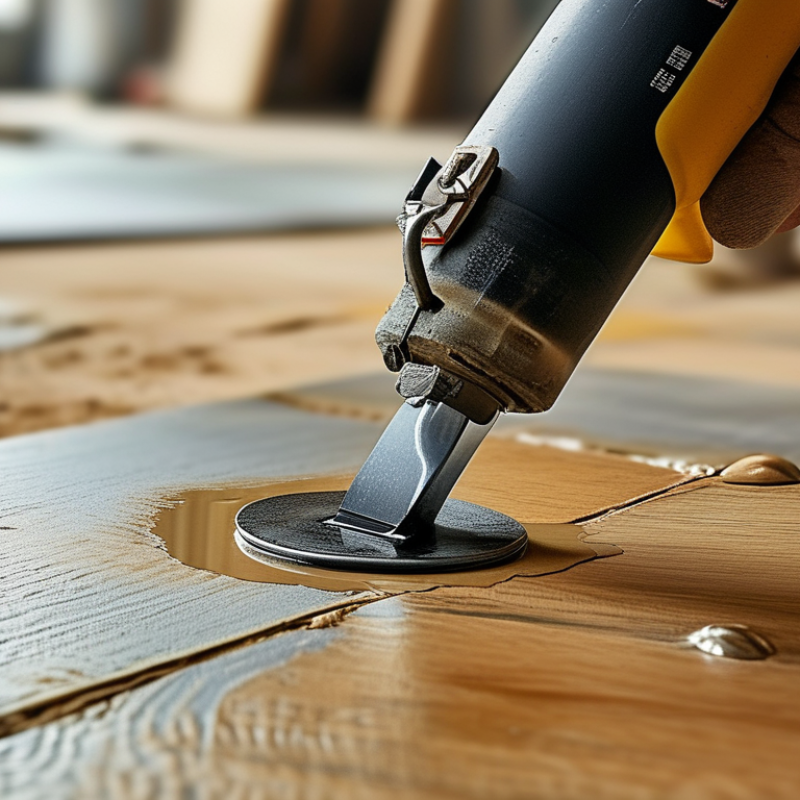
Fast dry liquid nails are a versatile adhesive suitable for various projects. These products bond quickly, allowing for efficient repairs and constructions. You might use them in woodworking, construction, or crafting. They work well on different materials, such as wood, metal, and plastic. Understanding their application is key to effective use.
To achieve the best results, surface preparation is crucial. Clean the surfaces thoroughly to remove dust and grease. Apply the adhesive in a thin layer. This helps to ensure a strong bond. Additionally, holding the items together for the recommended time is essential. Sometimes, it's easy to underestimate how long this takes. Patience is a virtue in adhesive applications.
While fast dry liquid nails are user-friendly, mistakes can happen. Overapplication can lead to messy results. If you find excess adhesive, remove it carefully before it cures. Also, ensure proper ventilation when using the product. The fumes can be overwhelming. Reflecting on these aspects will improve your experience and outcomes.
Preparing Surfaces for Optimal Adhesion with Fast Dry Liquid Nails
Preparing surfaces is crucial for optimal adhesion when using fast-dry liquid nails. Clean and smooth surfaces help achieve strong bonds. Remove any dust, grease, or old adhesive. A simple wipe with a damp cloth can make a difference. For porous surfaces, like wood, sanding may be necessary. This step increases surface area for better adhesion.
Tips: Always test a small area first. This can help you understand how well the adhesive will hold. When working with non-porous materials, consider using a primer to enhance bonding.
Moisture can weaken adhesion. Ensure surfaces are dry before application. Humidity affects drying time, so checking the weather conditions is smart. Sometimes, poor adhesion results from overlooked details. If a bond fails, it’s worth re-evaluating surface preparation. A thorough inspection can save time and materials in the long run.
Step-by-Step Guide to Applying Fast Dry Liquid Nails Correctly
When applying fast dry liquid nails, preparation is key. Start by cleaning the surfaces thoroughly. Dust, dirt, and grease can prevent a solid bond. If possible, use a primer to enhance adhesion. It’s crucial to ensure that both surfaces are dry. Wet surfaces can lead to unpredictable results.
Next, apply the adhesive with controlled pressure. A steady, even line is essential. Avoid using too much adhesive; excess can ooze out and create a messy finish. Let the adhesive sit for the recommended time before pressing the materials together. This step can be frustrating if you rush. True bonding takes time.
Lastly, after joining the surfaces, hold them firmly in place. Ensure they align properly, as adjustments after application can be difficult. Patience is required here. It’s a common mistake to underestimate the importance of this stage. Once you've completed the process, clean any visible adhesive quickly. Review the entire application to ensure no areas were missed. Remember, practice makes perfect.
Tips for Ensuring a Strong Bond with Fast Dry Liquid Nails
When using fast dry liquid nails, ensuring a strong bond is essential for your projects. Start by preparing the surfaces. Clean both surfaces thoroughly. Dust, grease, or moisture can weaken the bond. Make sure the materials fit well together. Gaps may lead to an unstable connection.
Apply the adhesive evenly. A consistent layer helps in achieving a strong grip. Avoid using too much; excess can prevent proper drying. Hold the pieces together for a few minutes. Sometimes it feels tedious, but giving time is crucial. Be patient during this phase.
Check the temperature and humidity. Extreme conditions can impact drying times. An ideal environment allows better adhesion. After application, monitor the bond for a few days. It’s vital to reassess if any adjustments are needed. Fast dry liquid nails can be forgiving, but initial mistakes may require reflection.
Usage of Fast Dry Liquid Nails Across Different Applications
This bar chart illustrates the frequency of usage of Fast Dry Liquid Nails across various materials. As shown, wood is the most commonly used material, while glass is the least frequent application.
Common Mistakes to Avoid When Using Fast Dry Liquid Nails
Fast dry liquid nails are a popular choice for quick bonding. However, even experienced DIYers can make mistakes. One common issue arises from uneven surfaces. If the surfaces are not clean and flat, the adhesive will not bond effectively. Dust, oil, or grease can compromise the adhesive’s strength. Always prepare the surfaces properly before application.
Another mistake is applying too much adhesive. Using excessive product might seem beneficial, but it can lead to mess and ineffective bonding. A thin, even layer usually provides better results. Furthermore, rushing the setup time can lead to misalignment. Allow adequate time for the adhesive to cure fully before putting pressure on the bond. It's tempting to test immediately, but patience is critical.
Lastly, overlooking safety precautions is a frequent oversight. Protect your hands and work area. Wear gloves and ensure proper ventilation. While it may seem minor, safety gear can significantly reduce risks. Each project offers learning opportunities, even through mistakes. By reflecting on these aspects, you can improve your technique with fast dry liquid nails.