10 Essential Tips for Using Transparent Liquid Nails Effectively
In the world of DIY and home repairs, Transparent Liquid Nails stand out as a versatile adhesive. This powerful product can bond various materials, offering strength and flexibility in projects. Whether you're working on crafts, furniture, or even small repairs, mastering the use of Transparent Liquid Nails is essential.
However, it's easy to misapply or underestimate its potential. Many users might find themselves struggling with drying time or application techniques. Contracts and bonds can fail if the surface isn't properly prepared or if excessive product is used. Transparency in application doesn’t just refer to the adhesive itself, but also to understanding how to achieve the best results.
Practical tips can demystify the application process of Transparent Liquid Nails. By focusing on preparation and technique, you can enhance your results significantly. Remember, each mistake can lead to learning, fostering improvements in your skills.
Understanding Transparent Liquid Nails: Composition and Benefits
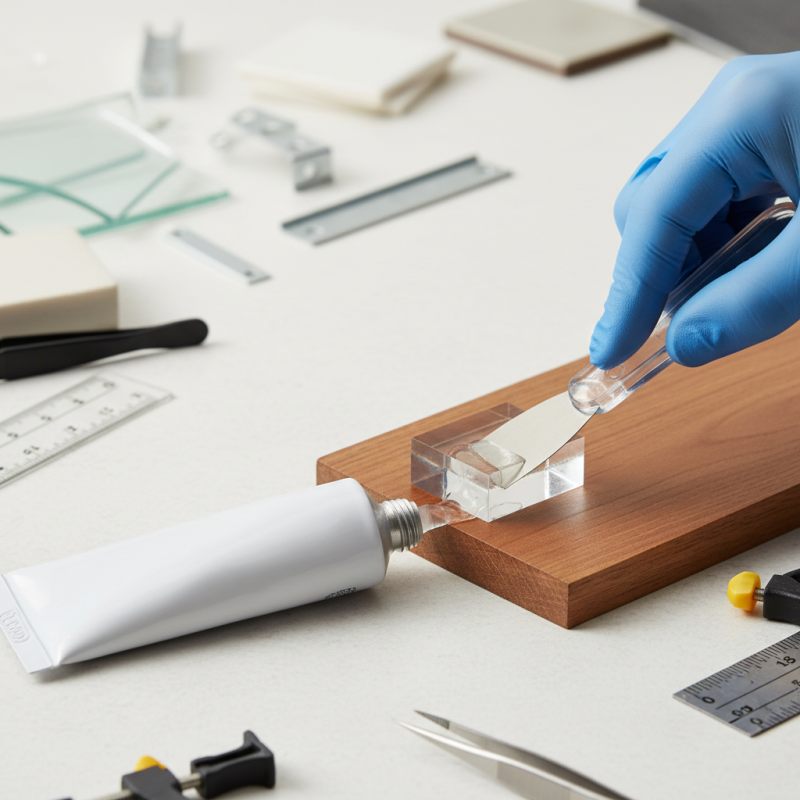
Transparent liquid nails are a versatile adhesive option for various projects. Their main composition includes polymers, which create a strong bond. This bonding strength is particularly useful for materials like wood, glass, and ceramics. The clarity of the adhesive allows for seamless application, especially on visible surfaces.
One of the key benefits is the resistance to moisture and temperature changes. This makes it ideal for indoor and outdoor use. However, improper application can lead to weak adhesion. Ensure the surfaces are clean and dry for better results. If not, the bond may fail when exposed to stress. Always check if additional support is needed for heavy items.
Experimenting with application methods can yield different results. A steady hand is crucial for neat applications. Clumps or excess adhesive can mar the finish. A quick clean-up is essential before it sets. Observing these small details can make a significant difference in your DIY projects.
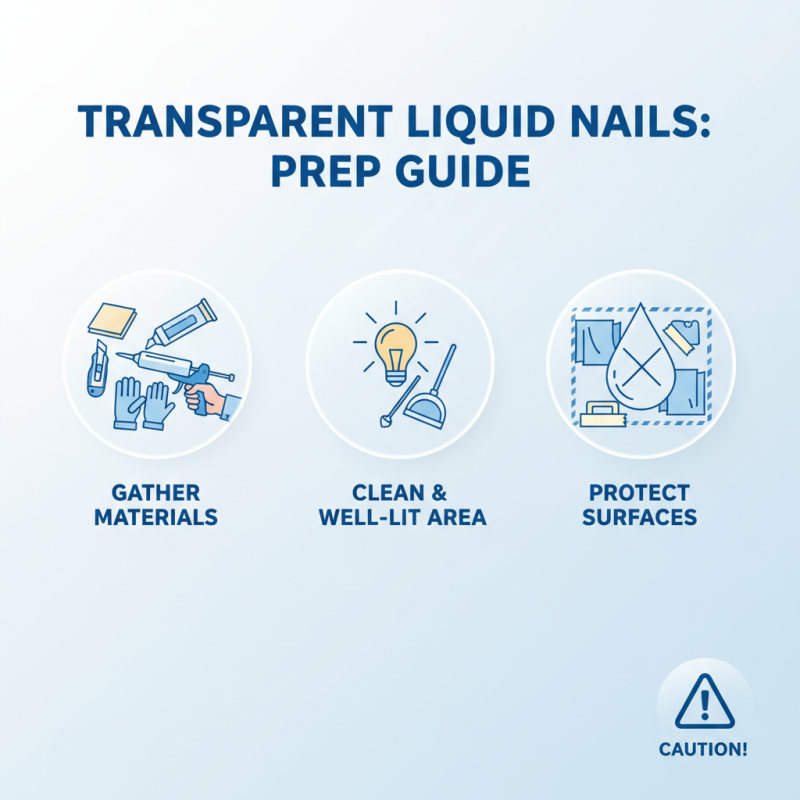
Preparation Steps Before Using Transparent Liquid Nails
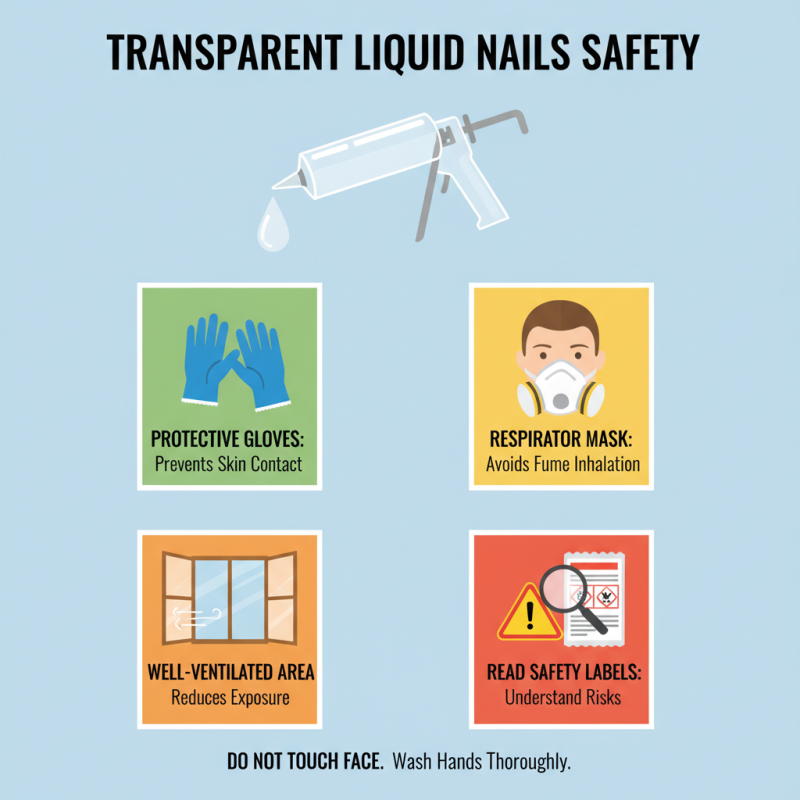
Before diving into any project using transparent liquid nails, preparation is key. Gather all necessary materials beforehand. Ensure your work area is clean and well-lit. A tidy workspace helps you focus on the task. Be cautious with surrounding surfaces. You don't want to make a mess.
Next, consider the surfaces you will bond. They should be clean and dry. Dust and debris can weaken the bond. Use a damp cloth to wipe down areas. If you're working with wood, sand the surface lightly. This can enhance adhesion. Take the time to assess how the surfaces fit together. Misalignment is frustrating, especially during application.
Lastly, experiment with smaller pieces if you're unsure. This allows for adjustment. Don't be disheartened by imperfections that arise. Practice makes perfect. Understanding how the adhesive interacts with different materials is a learning process. Each project offers lessons for the next. Embrace the imperfections; they are part of the journey.
Application Techniques for Optimal Bonding with Transparent Liquid Nails
When using transparent liquid nails, mastering application techniques is crucial for achieving optimal bonding. Clean surfaces enhance adherence. Dirt, grease, or moisture can weaken the bond. A 2019 industry report found that improper surface preparation accounted for over 30% of adhesive failures. Always ensure the surfaces are dry and free from contaminants.
Applying the adhesive in a zigzag pattern increases contact area, improving bond strength. A uniform thickness of around 1/8 inch is recommended. Too thin can compromise strength, while too thick may lead to excess drying time. According to manufacturer guidelines, a curing time of 24 to 48 hours can vary based on humidity and temperature. If it's too humid, drying may take longer.
One common mistake is rushing the process. Proper pressure during application ensures good contact. Testing small areas first can help gauge the adhesive’s effectiveness, yet many overlook this step. It’s vital to reflect on past experiences. Learning from them can help refine techniques, ensuring a reliable bond each time.
Curing and Drying Time: What to Expect When Using Transparent Liquid Nails
When using transparent liquid nails, understanding curing and drying time is crucial. Typically, transparent liquid nails can take anywhere from 24 to 72 hours to fully cure. Factors like temperature and humidity can significantly affect these times. According to industry data, higher humidity levels can prolong the curing process. It’s essential to allow ample time before applying pressure to bonded surfaces.
While using liquid nails, here are some practical tips. Ensure surfaces are clean and dry. Dirt and moisture can hinder bonding efficiency. A light sanding can help too, enhancing adhesion. Apply an even layer for the best results. Avoid excessive application, as thick layers elongate drying time. Remember, a well-prepped surface leads to a better outcome.
Be mindful of the environment where you’re working. Ideal conditions fall between 60°F and 80°F, with moderate humidity. Outside this range, effectiveness drops. There might be times when your project doesn’t turn out as expected, and it’s alright to reassess your approach. Reflecting on conditions and practices can often reveal simple adjustments. Don’t rush the drying period; patience can make a significant difference in results.