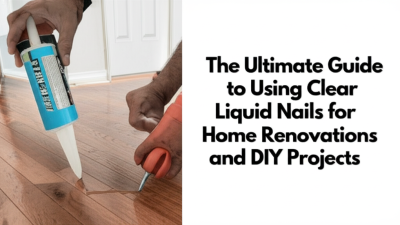
2026 How to Use No More Nails Adhesive Effectively?
In the world of construction and DIY projects, "No More Nails Adhesive" has revolutionized how we bond materials. According to a recent industry report by the Adhesive and Sealant Council (ASC), the global market for adhesives is projected to reach $50 billion by 2025. This reflects a growing trend towards reliable and versatile adhesive solutions like No More Nails.
Proper use of No More Nails Adhesive can yield remarkable results, yet common mistakes often lead to subpar adhesion. Many users overlook surface preparation, which is crucial for optimal performance. Studies indicate that properly cleaned surfaces can enhance bond strength by up to 50%. It's essential to remember that the effectiveness of this adhesive can diminish if applied in humid conditions or on dirty surfaces.
Understanding the nuances of No More Nails Adhesive can save time and resources. While it excels in many applications, it's important not to rely on it for heavy-duty structural bonding. Evaluating the needs of each project is key. Just as using the right tool can make all the difference, selecting the appropriate adhesive can significantly impact your project's success.
Understanding No More Nails Adhesive and Its Uses
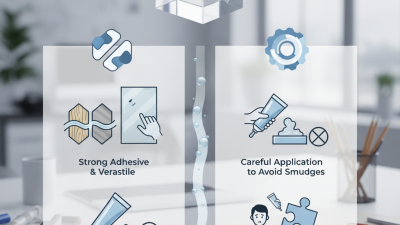
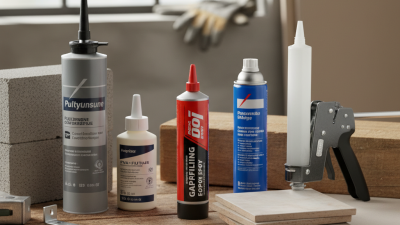
No More Nails Adhesive is a unique solution for many home improvement tasks. It’s a strong, versatile adhesive that bonds various materials like wood, metal, and ceramics. Understanding its properties is key to using it effectively. This adhesive is not just for heavy-duty projects; it's also useful for small repairs around the house.
Using it correctly can be tricky. Sometimes, surfaces may not bond as expected. This can happen if the surfaces are dirty or damp. Ensure the area is clean and dry before applying the adhesive. A level surface helps too. Apply a moderate amount — too little won’t hold, while too much may squeeze out and create a mess.
Tips: For best results, clamp or weight the items while they cure. This helps maintain pressure for a solid bond. Remember, adhesive needs time to set, so avoid moving the pieces too soon. If mistakes occur, use a sharp tool to scrape away excess adhesive. Learning from these small errors can lead to better results in future projects. Each trial teaches valuable lessons.
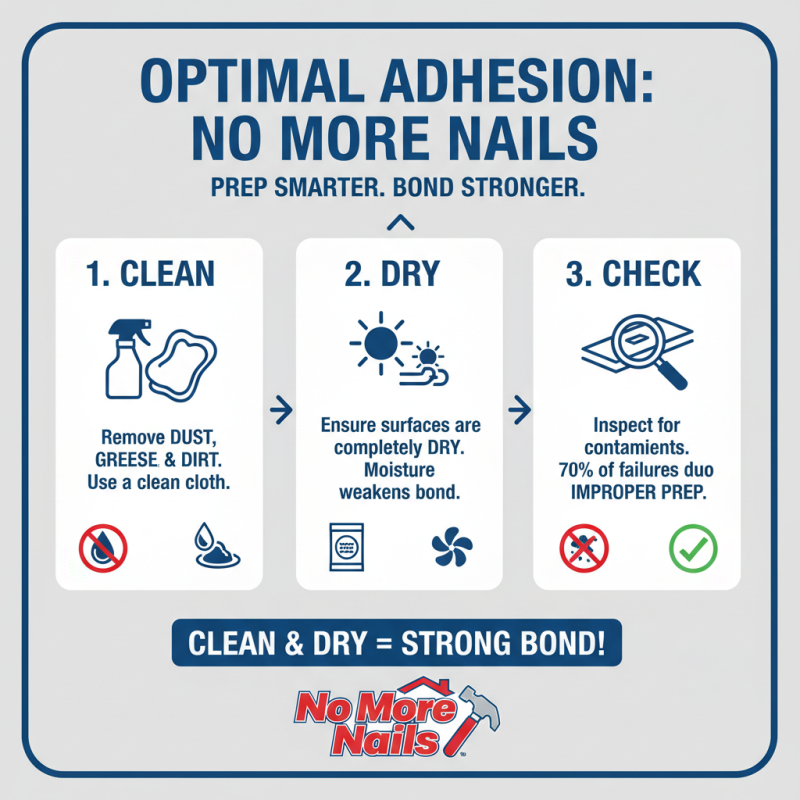
Preparing Surfaces for Optimal Adhesion with No More Nails
Preparing surfaces properly is crucial for using adhesive effectively. To achieve optimal adhesion, surfaces must be clean and dry. Dust, grease, or moisture can compromise the bond. A report from the Adhesive and Sealant Council highlights that about 70% of adhesive failures are due to surface contamination.
When preparing surfaces, start with a thorough cleaning. Use a suitable cleaner to remove residues. After cleaning, allow the surface to dry completely. Inspect for any imperfections that may affect adhesion. Fix any cracks or rough patches. A smooth surface ensures better contact with the adhesive.
**Tips:** Test a small area if you’re unsure about compatibility. Use sandpaper to roughen very smooth surfaces. This creates a better grip for the adhesive.
Additionally, consider temperature and humidity. Adhesives often perform best between 60°F and 80°F with low humidity. A significant drop in temperature can slow down curing. Remember, every surface is unique. What works for one project might not work for another. Stay adaptable and flexible in your approach.
Step-by-Step Application Techniques for No More Nails Adhesive
Using adhesive can be tricky. However, when applied correctly, it can save time and create strong bonds. According to a report by the Adhesive and Sealant Council, the adhesive market is expected to grow at a steady rate of 4.5% annually. Knowing how to use it properly is vital for both DIYers and professionals.
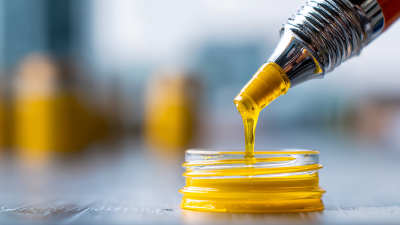
Start with a tidy surface. Clean the area to remove dust and grease. These factors can weaken the bond. It's recommended to apply the adhesive in beads or spots, not too thick. A thin line often works better. This technique improves adhesion and prevents excess squeeze-out. Aim for an even distribution to avoid messy results.
Let’s not forget drying time. Many ignore this, resulting in failed projects. Always consider manufacturer guidelines. If you rush, you might compromise the bond. Moreover, temperature can affect effectiveness. Apply in moderate conditions for best results. Unchecked variables can lead to unsatisfactory outcomes, so always double-check your environment. Even small mistakes can lead to significant issues down the road.
Common Mistakes to Avoid When Using No More Nails Adhesive
Using adhesive effectively can save time and effort. However, common mistakes often arise. One frequent error is applying too much adhesive. A thick layer can result in uneven bonding. Instead, use a thin, even coat for better adherence. Another mistake is not preparing the surfaces properly. Dust, grease, or moisture can prevent a strong bond. Make sure the surfaces are clean and dry before applying the adhesive.
People often rush the drying process. Patience is key. If you try to move items too soon, the bond may break. Allow the adhesive to cure fully for the best results. Misjudging the working time can lead to frustration. Always read the guidelines carefully to understand the product.
Additionally, neglecting temperature can disrupt the bonding process. Extreme cold or heat can affect how the adhesive performs. Ensure the working environment is within the recommended temperature range. Many overlook the importance of pressure during application. Applying firm pressure ensures a tighter bond. Reflection on these common issues can lead to improved applications.
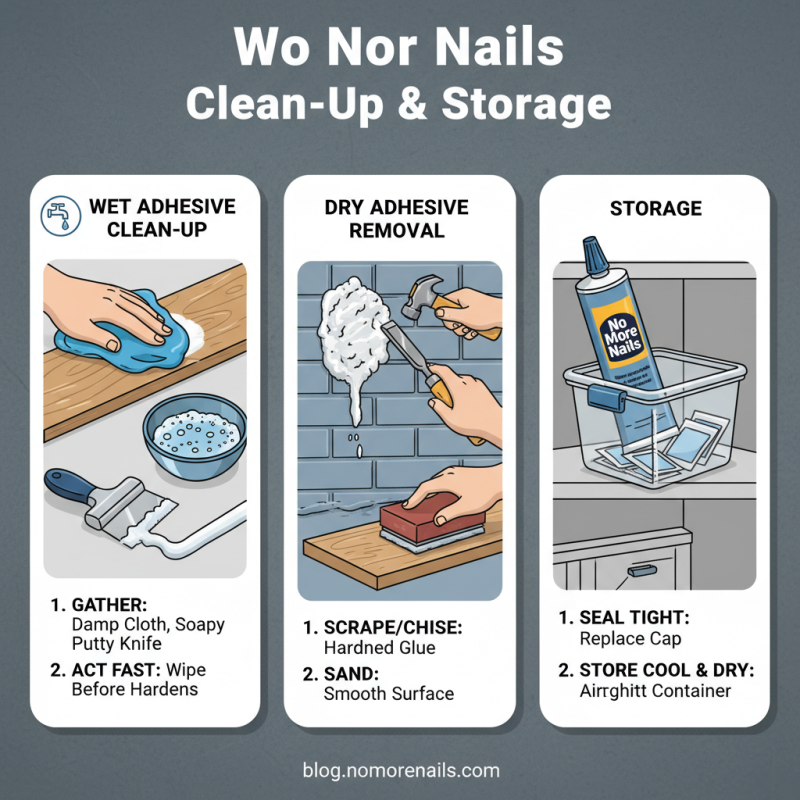
Tips for Clean-Up and Storage of No More Nails Adhesive
When using adhesive, proper clean-up is essential. Any excess glue can be challenging to remove. Start by gathering a few items: a damp cloth, a putty knife, and some soap. A simple mix of warm water and soap can help loosen the adhesive. If the glue is still wet, act quickly. Wipe away the mess before it hardens.
For storage, keep the adhesive in a cool, dry place. Ensure the lid is tightly closed to prevent drying out. A well-sealed container will prolong its life. Check for signs of thickening or change in texture. Use it on projects with an idea of how much you'll need. It’s easy to over-apply and find yourself facing a sticky situation later. Small mistakes can cause bigger problems down the line, so careful handling is key.