How to Choose High Performance Liquid Nails
Choosing High Performance Liquid Nails is less about buying the strongest tube and more about matching the adhesive to the materials, conditions, and job. According to the U.S. Census Bureau’s February 2025 construction-spending release, U.S. construction spending was estimated at $2.154 trillion in 2024, up 4.3% from 2023. That figure shows the scale of building activity, but it does not tell you which adhesive will work for a particular repair. The product label and technical data sheet matter more.
Start with the surfaces. Wood, metal, masonry, and foam can each require different formulations. Check whether the adhesive is approved for both materials, and note any limits on moisture, temperature, or indoor and outdoor use. A bead applied to a dusty concrete step may not bond like the same bead on clean, dry concrete. Small details matter.
Then compare open time, cure time, gap-filling ability, and stated load limits. “Heavy duty” alone is not a performance test. Look for manufacturer test data and clear application instructions; where relevant, check whether claims reference recognized methods such as ASTM testing. Allow for surface preparation and clamping requirements, too. These can change the result.
Read the fine print. A fast grab may help hold trim in place, while a longer cure may suit a larger panel. Neither is automatically better. Even careful selection cannot compensate for an unsuitable surface or rushed curing. That part is easy to underestimate.
Define the Project Requirements and Load Conditions
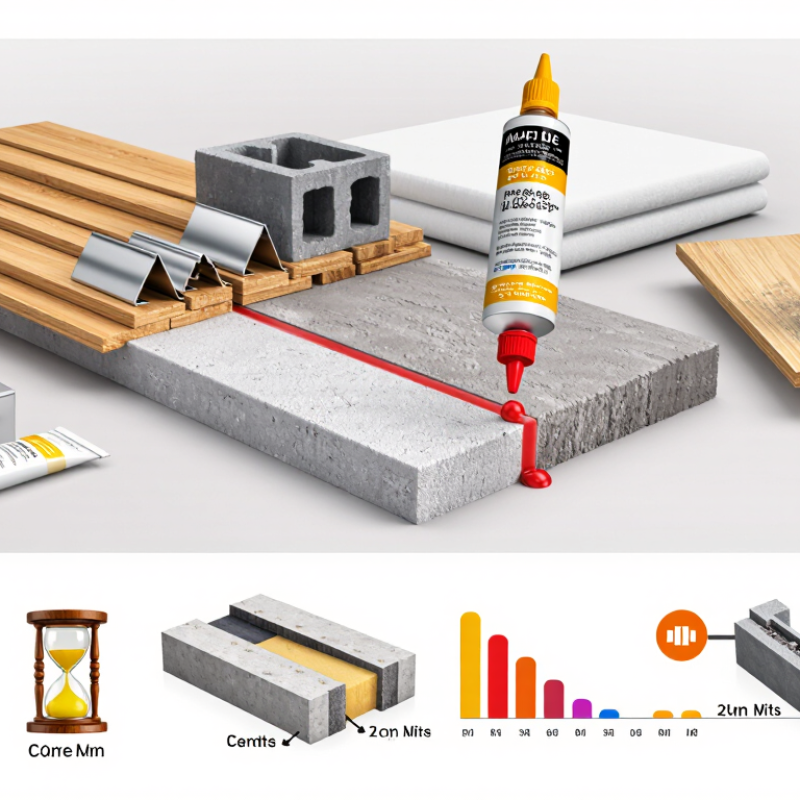
Before choosing a high-performance construction adhesive, define what the joint must do. Write down the materials, the contact area, and the expected weight. A narrow bead between two smooth boards behaves differently from a broad bond on rough masonry. A wall-mounted panel may face constant downward pull, while floor trim can experience bumps and vibration. Consider whether the load is steady or changes over time. Small details matter.
Check each surface for paint, dust, oil, and moisture. Adhesive performance depends on clean contact, not just a strong product label. Concrete can be porous; sealed wood may resist bonding. Temperature also matters, especially in an unheated garage or damp bathroom. Review the product’s technical data for compatible materials, application temperature, curing time, and any stated load limits. Heavy or overhead pieces may need temporary bracing or mechanical fasteners while the adhesive cures.
“High performance” is not a substitute for support.
I tend to be cautious here: the exact load a joint can carry is difficult to predict without matching the tested conditions. Note any gaps or uneven spots before buying, since some formulas handle them better than others. Allow enough time for a full cure.
Identify the Materials and Check Adhesive Compatibility
Before choosing a high-performance construction adhesive, identify both surfaces. A plywood panel, painted wall, ceramic tile, and plastic trim each behave differently. Check whether the surfaces are porous or smooth, and note any coatings, dust, or old adhesive. A label may list suitable materials, but “strong” does not mean compatible with every surface.
Read the product directions for the exact materials and conditions involved. Some adhesives bond well to wood, masonry, or metal, while certain plastics, foams, or flexible materials may need a different formula. Check limits for moisture, temperature, and indoor or outdoor use. For a heavy panel, confirm the stated application and curing requirements; adhesive alone may not replace mechanical fasteners where support is needed. When uncertain, test a small, hidden area first. I have learned that skipping this step can mean extra cleanup later.
Tips: Wipe away loose dust and let damp surfaces dry if the directions require it. Apply a small test bead, then watch for softening, staining, or poor grip. Keep parts supported during curing. Read the label again; it is easy to overlook a detail.
Compare Bond Strength, Flexibility, and Cure Time
Choosing a high-performance liquid nail starts with the joint, not the biggest number on the tube. Bond-strength ratings can come from different test methods, so compare products only when their test conditions match. A pull test on two clean boards may not predict performance on painted trim or a slightly porous wall. Check the recommended materials and surface preparation.
Flexibility matters when joined materials expand, vibrate, or move slightly. A rigid adhesive may hold well under a steady load but crack as wood shifts with humidity. For a floor threshold or exterior trim, look for guidance on movement and service conditions. Read the fine print. A flexible bond is not automatically a strong one, and too much movement can still strain the joint.
Cure time needs careful reading. “Initial grab” usually does not mean the joint can carry its full load. Note the stated time to handling strength and full cure, plus the temperature and humidity used for testing. Thick beads and nonporous surfaces may slow curing. Keep parts supported as directed. This comparison can feel untidy, because real surfaces rarely match a lab setup. A small test joint can reveal poor fit or weak adhesion before a larger installation.
Evaluate Moisture, Temperature, and Indoor or Outdoor Exposure
Choosing a high-performance construction adhesive starts with the conditions at the joint, not the label alone. For wood, moisture changes can affect fit and bond stress. The USDA Forest Products Laboratory’s Wood Handbook reports equilibrium moisture content near 12% for wood at 20°C and 65% relative humidity. A damp board may therefore move as it dries. Check the substrate, not just the room.
Temperature matters during application and curing. Read the adhesive’s technical data sheet for minimum application temperature, allowable surface conditions, and cure time; cold surfaces can slow curing, while heat may shorten working time. For outdoor work, compare local seasonal highs and lows using NOAA’s 1991–2020 U.S. Climate Normals, then check the product’s stated service-temperature range. A sunny wall can get hotter than the air. That detail is easy to miss.
Rain, condensation, and repeated wetting call for an adhesive specifically rated for the intended exposure and materials. “Water-resistant” does not automatically mean suitable for constant moisture or submerged joints. Prepare clean, sound surfaces, and follow the specified bead size and clamping instructions. I would also test an inconspicuous area when bonding painted, dusty, or unusually porous materials; surface conditions are rarely perfect on site. Allow the full cure time before loading the joint.
Review Application Instructions and Safety Requirements
Before choosing a high-performance liquid nail, read the full application instructions, not just the front label. Products differ in the surfaces they bond, the conditions they tolerate, and the time they need to cure. Check whether the material suits both surfaces, such as painted drywall and a wooden trim piece. A small test on a hidden area can reveal poor adhesion or surface damage. Small details matter.
Follow the stated preparation steps. Surfaces may need to be clean, dry, and free of dust, grease, or loose paint. Apply the adhesive in the recommended pattern and amount; a thicker bead does not always mean a stronger bond. Use temporary bracing or clamps if the instructions call for them. Keep the pieces supported for the specified period, and do not load the joint before it has cured. Do not guess.
Review safety directions before opening the container. Wear the recommended gloves and eye protection, and provide ventilation, especially in a small room. Some formulas may require extra precautions around heat or flames, so check the label rather than assuming. Keep the tube away from children and pets, and follow its guidance for cleanup and disposal. It is tempting to rush once the parts are pressed together, but cure time is easy to underestimate. A missed instruction can mean redoing the work.