10 Best No More Nails Adhesive Options for Your Home Improvement Projects?
In the realm of home improvement, the choice of adhesive can significantly impact project success. No More Nails Adhesive stands out as a versatile solution. Expert contractor Jessica Green emphasizes, "Using the right adhesive can make or break your project." This statement rings true as DIY enthusiasts and professionals alike seek reliable, easy-to-use options.
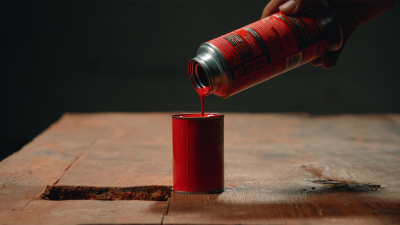
No More Nails Adhesives offer strong bonds without the need for nails or screws. These products are designed for various materials, including wood, metal, and ceramics. Imagine fixing a loose floorboard or securing a picture frame effortlessly. However, it's important to remember that not all adhesives are suitable for every surface.
While No More Nails Adhesive excels in many areas, some users may find it challenging to remove cured adhesive from surfaces. This can lead to frustrations during remodels or repairs. It's essential to test a small area first and consider alternatives when necessary. By exploring the best options available, you can ensure your home improvement projects achieve the desired results.
Understanding No More Nails Adhesives: What You Need to Know
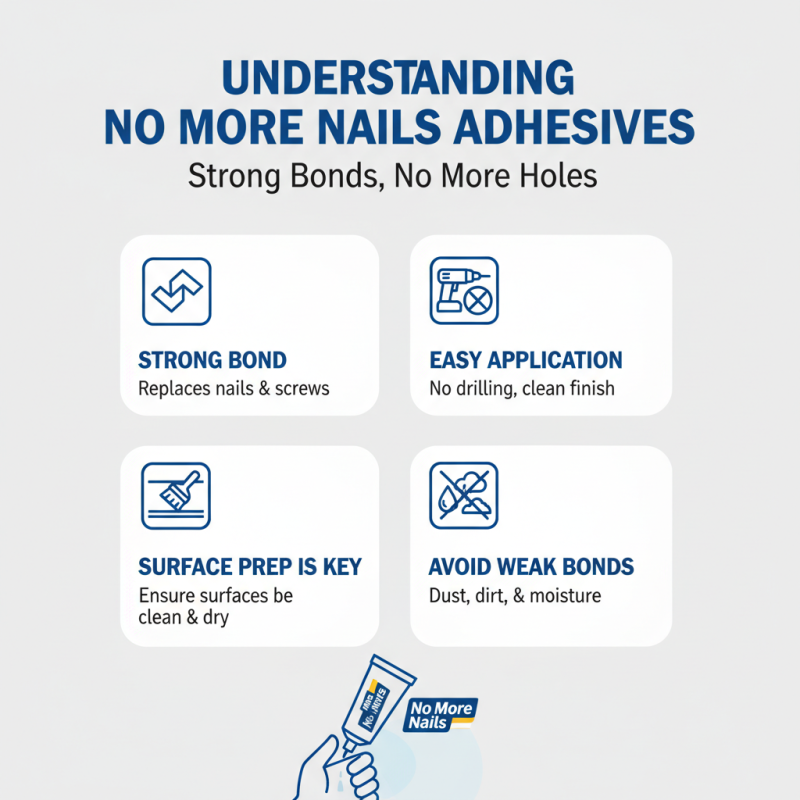
No More Nails adhesives have become a popular choice for home improvement projects. They provide a strong bond without the need for nails or screws. This eliminates the hassle of drilling holes, ensuring a clean finish. When using these adhesives, surface preparation is crucial. Dust, dirt, and moisture can weaken the bond significantly.
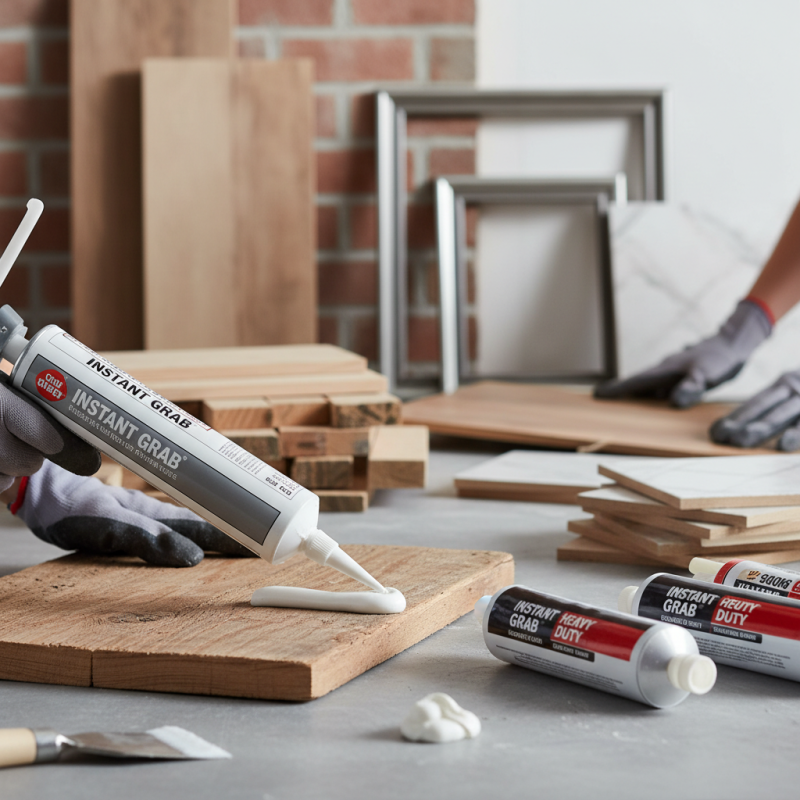
Application is straightforward. Most adhesives come in a tube, allowing for easy dispensing. Just apply the adhesive evenly to one surface and press the items together. However, be mindful of the curing time. Some products may require a significant wait before reaching full strength. It’s easy to underestimate this, leading to frustrating results.
While No More Nails adhesives are convenient, they are not flawless. Sometimes, they can result in messy applications if not handled properly. Over-application can lead to excess squeeze-out, which may need clean-up later. Choosing the right product for your specific materials—wood, metal, or plastic—is essential too. Not all adhesives work well with every surface. Always perform a small test if you are unsure.
Top Factors to Consider When Choosing Adhesives for Home Projects
When choosing adhesives for home improvement projects, several key factors should guide your decision. The type of material you are bonding is crucial. Some adhesives work best on porous materials, while others excel on non-porous surfaces. For example, a recent industry report indicated that adhesives designed for wood typically provide 40% stronger bonds than those for plastic. Understanding material compatibility is essential.
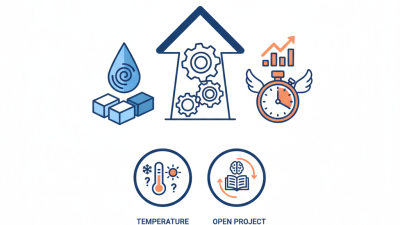
Another important aspect is the drying time. Fast-setting adhesives can save time, but they may not provide the necessary flexibility for certain applications. A study by the Adhesive and Sealant Council highlighted that 30% of DIY projects failed due to improper curing times. Homeowners should be aware of how different adhesives handle stress and temperature fluctuations. Some may become brittle in colder conditions, leading to potential failures.
In terms of safety, consider low-VOC options to limit exposure to harmful chemicals. Many consumers overlook this aspect. A survey found that 65% of homeowners prioritize performance over safety. This can lead to regrettable choices. Opting for safer adhesives contributes to overall indoor air quality. The right adhesive not only improves the durability of your projects but also ensures a healthier living environment.
Review of the 10 Best No More Nails Adhesives on the Market
When tackling home improvement projects, finding the right adhesive can make a significant difference. No More Nails adhesives are popular for their versatility and strength. According to industry studies, these adhesives can handle weight loads up to 280 pounds, depending on the surface materials used. This capability makes them ideal for bonding wood, metal, and ceramics.
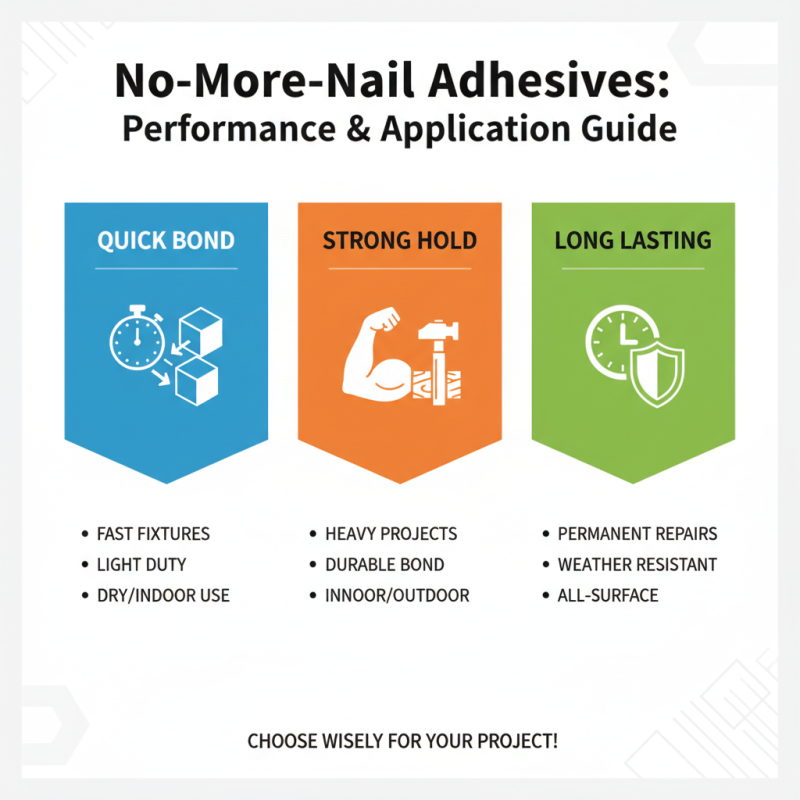
However, not all adhesives perform equally. Some may lack durability or can be difficult to work with. It’s important to consider drying times, impact resistance, and flexibility. Look for options that promise a strong bond while allowing for some movement in the materials. Adjustments and repairs may be needed after application, especially if some adhesives do not maintain their hold over time.
Tip: Before application, ensure surfaces are clean and dry. This simple step can enhance adhesion performance. Additionally, test a small area first to evaluate the adhesive's effectiveness on your specific materials. Another tip is to avoid overapplying; more adhesive doesn't always mean a better bond. Embracing the trial-and-error process can lead to discovering the best fit for your home improvement projects.
Top 10 No More Nails Adhesive Options
Comparison of Performance and Application Methods for Each Adhesive
When it comes to home improvement projects, choosing the right adhesive is essential. Many no more nails adhesives offer various performance levels and application methods. Understanding these differences helps you select the ideal product for your specific needs. Some adhesives bond quickly, while others provide a long-lasting hold. Many are suitable for both indoor and outdoor use, but that doesn’t mean they all perform the same.
Consider the application method. Some adhesives come in tubes for easy application, while others may require a caulk gun. Pay attention to the drying time as well. Fast-drying adhesives are convenient, but they may not allow enough time for adjustments. Test a small area before committing to a full project.
Tips: Always ensure surfaces are clean and dry. This simple step can significantly impact adhesive performance. And remember, excess adhesive can lead to unsightly messes. Don’t rush the process. Take your time to read the instructions carefully. When in doubt, consult professional advice for complex projects.
Tips for Safe and Effective Use of No More Nails Adhesives in Home Repairs
Using no more nails adhesives can save time and effort in your home repair projects. They provide a strong bond without the need for mechanical fasteners. However, safety and effectiveness are crucial when choosing the right adhesive and applying it.
Consider the workspace. Ensure it is well-ventilated to avoid inhaling fumes. Keep the adhesive away from children and pets. Use gloves to protect your hands from sticky residue. Remember that even a tiny drop can create a strong bond. Apply it sparingly for better control.
It's important to read the instructions carefully. Not all surfaces are suitable for every adhesive. Some require specific conditions. If you apply too much, it can lead to messy results. Instead of achieving a clean finish, you may create extra cleanup work. Always test a small area before committing to the whole project. This can prevent unexpected disappointments later on.
10 Best No More Nails Adhesive Options for Your Home Improvement Projects
| Adhesive Type |
Strength (kg/cm²) |
Drying Time |
Best Used For |
Water Resistance |
| General Purpose |
25 |
24 hours |
Wood, Ceramics |
Yes |
| Heavy Duty |
30 |
48 hours |
Concrete, Metal |
No |
| Instant Grab |
20 |
1 hour |
Light Fixtures, Trim |
Yes |
| Flexible Bond |
18 |
6 hours |
Tiles, Molding |
Yes |
| Outdoor Use |
28 |
12 hours |
Fencing, Garden Decor |
Yes |
| Rapid Set |
23 |
2 hours |
Crafts, Small Repairs |
No |
| Clear Drying |
15 |
8 hours |
Glass, Photo Frames |
Yes |
| Heavy-Duty Construction |
35 |
72 hours |
Building Materials |
No |
| High-Temperature |
26 |
24 hours |
Kitchens, Bathrooms |
Yes |
| Low-VOC |
22 |
8 hours |
Indoor Applications |
Yes |